Long time no update! I’ve been sitting on this June Monthly report for a while because, well, the games frankly weren’t super exciting and I didn’t have much motivation to write about them, except for one. I ran a campy army which resulted in pretty stale games, unfortunately, so there’s not much to say about most of them.
Utah Monthly - June 2018 - Hordes 500
I’ll be honest, I’m not a huge fan of horde games, especially in a tournament setting. Once in a while with friends is okay, but trying to kill so many figures four times in a day is more of a grind than I like (although, to be fair, less than half of the armies tend to be actual hordes). So, when thinking of an army to play, I decided to go for something that was a little less conventional and hopefully would help me kill hordes well enough, as well as be good against horde killer armies.
Microcorp Troopers are really good, especially with Raelin, so I wanted to see if using Taelord would be comparably as good. I also really liked the image of just unleashing lead on a bunch of swarming enemies, which actually got me excited to take on some hordes. (Unfortunately, as I mentioned, it wasn’t as exciting as I wanted.)
Game 1
Spoiler Alert!
VS
@Utah Scott
Tomoe Gozen
Tagawa Samurai
Kozuke Samurai
Izumi Samurai
Raelin
Kira Jax
This game was the fun one. I opened by moving Taelord onto high ground, then taking position with Troopers while Scott started moving the Kozuke into position to charge, Raelin backing them up. With the Kozuke threatening Taelord I had to use some Troopers as roadblocks, but wasn’t too terribly worried due to Kozuke low defense and started shooting away. Unfortunately, Raelin’s aura with jungle defense served as a good counter to Taelord’s aura and height, and the samurai didn’t die as quickly as I wanted.
Scott then made a risky move, rushing Raelin in to cover the charging samurai as they went in for Taelord. My troopers were able to make quick work of Raelin now that she was in the open, but that came at the cost of the Kozuke having time to get in and gut Taelord with a few strong attacks. I cleaned up the Kozuke right after Taelord fell.
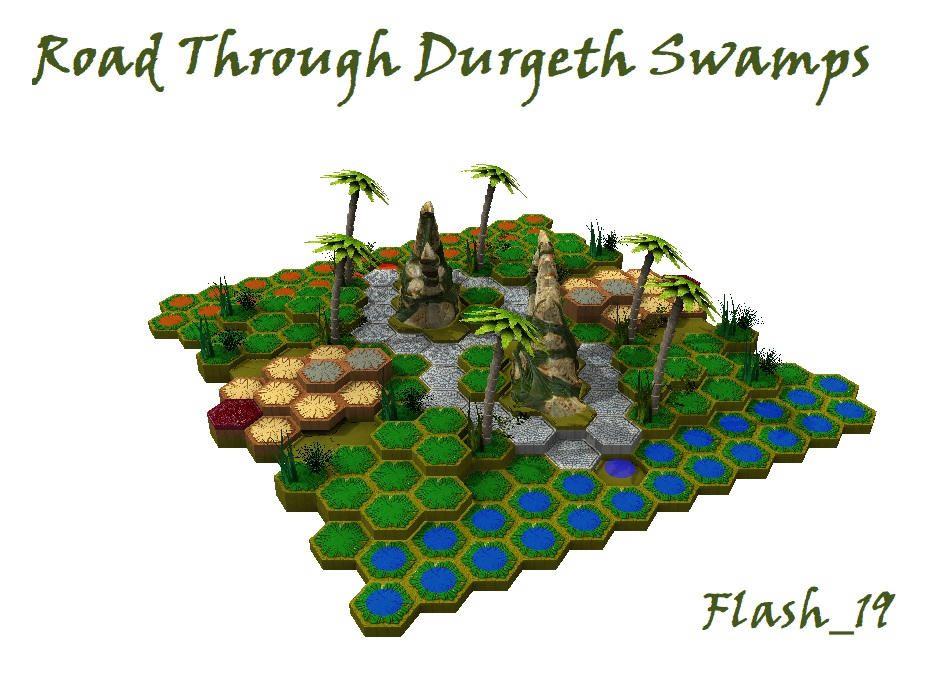
We were now both down our cheerleaders, but still had most of my Troopers remaining against only two samurai squads, Tomoe, and Kira. Unfortunately, while I had been working on the Kozuke, Tomoe had taken some activations to get on a defense glyph (which, you’ll notice in the image, was on high ground). The Izumi began their advance, and without Taelord’s help, I had a difficult time breaking their defense. I also started taking shots at Tomoe, but I was only doing a little damage at a time. Meanwhile, the Izumi started attacking Troopers (which actually worked with low trooper defense), and once an Izumi fell Tomoe jumped off the Defense glyph to engage some nearby troopers, opting for more attacks and counterstrike over just two attacks per turn.
A lucky string of attacks turned things around for me in a matter of a couple turns, but the Izumi onslaught had hurt, and the Tagawa were looking to take their place. I again didn’t kill any before they engaged with me, and they chewed through the remaining squad and a half pretty quickly until I got another good couple attacks in and killed two Tagawa, leaving him with that one samurai and Kira against two of my Troopers. And, to increase the tension, it was time to roll for initiative again.
I won initiative, but failed my attacks against the Samurai, who killed a Trooper. My last Trooper finished off the Samurai, but Kira Jax then began moving into position, and Scott put her in a good place with jungle defense where I couldn’t get height or jungle cover if I attacked her. I also couldn’t try to hang back since Kira has longer range than Troopers, so I had to go in for a lucky shot. Lucky it was with a 2/2 skulls, but she got 1/3 defense so only one wound. Then her return fire easily killed my last Trooper, giving Scott the win.
This was a pretty boring one. The height near my start zone meant I didn’t have to move Taelord at all, and I could just sit on my side of the lava and shoot incoming Sneaks. Their usually only getting to move two figures made it easier for me. Sometimes I ventured out to get more attacks, but usually only if I felt safe enough to do so.
It was kind of annoying for both of us, since it wasn’t a super enjoyable game. The thing was, if I moved any more than I did I would have automatically lost because of the Sneaks’ anti-range capabilities. But staying back meant it was up to Leafy to choose where and when to move, which was less fun due to the timeline we were on.
I killed a ton of Sneaks for a while, but eventually he got in with some and was able to get some attacks. He whittled away at me bit by bit as I pushed back wave after wave. In the end the Warwitch came out to try to kill my last few Troopers, but they killed her. The last of the Sneaks almost finished me off but I activated Taelord to get some final kills to win the game. It ended up being a close game, but was a grind to get there.
1-1
Game 3
Spoiler Alert!
VS Brayden
Major Q9
Mimring
Fen Hydra
Me-Burq-Sa
This one was pretty boring too. I messed up in my first round by moving Taelord, even though I pretty much knew Brayden would bring his figures to me. Well, that he did, and the long range of Mimring with some powerful rolls had me lose Taelord in the first round. Then it was just shoot stuff with Troopers and hope for a wound before they died. They managed to kill Mimring and Me-Burq-Sa since they had been exposed, but then it was a firefight with Q9. Just rolling a bunch of dice, never able to crack the defense, resulting in an overwhelming loss.
1-2
Game 4
Spoiler Alert!
VS
John
Mogrimm Forgehammer
Shieldsmiths of Granite Keep x3
Axegrinders of the Burning Forge x2
Last game, and unfortunately more of the pod and shoot action. The Shieldsmiths were able to kill about half of my Troopers, actually, with their great defense and the fact that I had only 2 defense which is vulnerable to their attack even without Indomitable kicking in. But I cleared them out, and then it just came down to killing Axegrinders as they approached and using the Special Attack on Mogrimm as much as possible, giving me a solid victory.
2-2
Sorry for the less exciting games; they unfortunately weren't great for me or my opponents. I'm working on the next report now, though, which was random team wildness, so hopefully that will make up for it.


 September 17th, 2018, 12:29 PM

 Similar Threads


 Hybrid Mode