


Custom Heroscape Hex Table

Here at Heroscapers.com we love to show off the work of our members. The creativity that pours out of so many of the people on this site never cease to amaze me. Recently one of our members, known as C28525, refurbished an old table into a beautiful Heroscape themed table for playing on. He's going to show us just how he did it with some step by step instructions just incase you want to do-it-yourself. So let me just hand the mic over to C28525 here, and let him run with it.
From the mouth of C28525:
First off I need to give a big shoutout to InfinityMax, it was his initial design of a dice tower that inspired this table. He also helped get the sizes and hexes together to make this thing. He is a genius!
Ok, before the table just wanted to let everyone know this is my first time at doing anything custom….so some of my lines are off and there are a few small errors, but I am very happy with the product.
I have been a member of the Heroscape community, and its plethora of websites, for almost 2 years. Initially I got this game as a way for me and my girlfriend’s son to have fun. It has provided a great bond for the both of us to enjoy each others company and grow closer together. It is no small accomplishment for a game to be able to do something like this, but Heroscape has definitely captured the attention of a great group of fans. If you would like to leave feedback please do so in the original thread located here:
http://www.heroscapers.com/community...ead.php?t=2179
Materials:
Table: The tables I have are all 29x59, but you can always do bigger/smaller. Depending on what kind of room you have to play with.
Paint: I used an Olympic Permium brand from Lowe’s. The color is called Aqua Bay and I got it in an Interior semi-gloss latex.. I only got a quart so it was only 9$. There is a little over half of it left and I think I didn’t need the last coat of paint.
Paint Brush: Get anywhere you can, opefully you have one laying around. I used a 3 inch brush so I could control the paint a bit more. I don’t think a roller would be the best idea but will work.
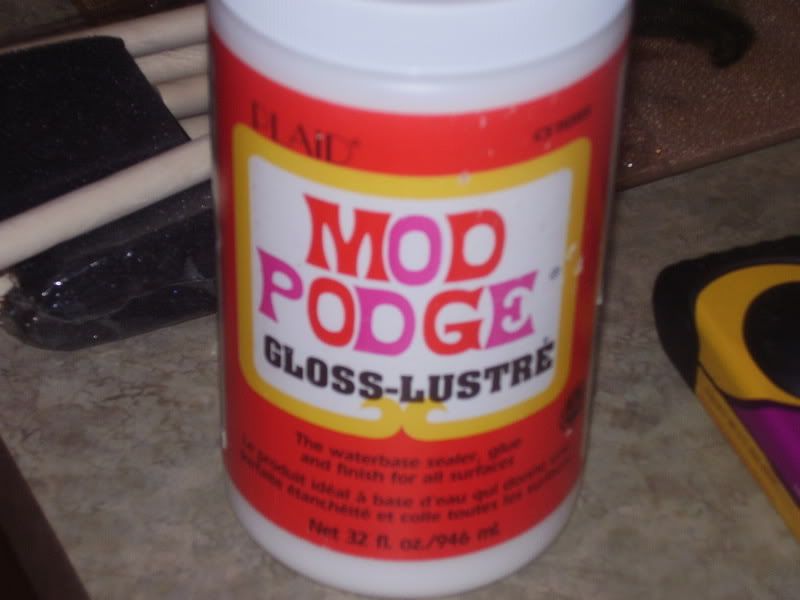
Mod Podge: Get at any local craft store, 5$.
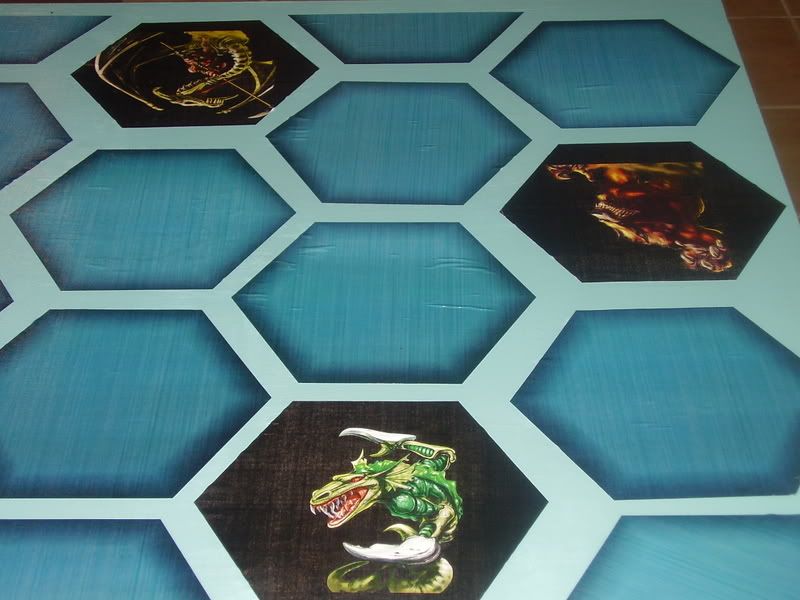
Hexes: Attached will be the hexes that I used. They are set for 6.35 height, although they can be made a little bigger or smaller without much image degradation. The figure pictures are all from the wallpapers on the Heroscape website. They were photoshopped onto the hexes and turned black. I then took all the hexes to Office Depot and had them all printed on a color laser printer. All the fig pics were put on glossy paper. Total Cost for this part was around 35$. You have to be careful when they print these, the guy I was working with wanted to resize and center them, and that will throw off the whole project. Make sure they do not alter the size.
Paper Cutter: If you’re good with scissors then you don’t need it, but I would still suggest using a paper cutter as the lines can be cut much straighter. At Office Depot they have one you can use for free and it is pretty precise.
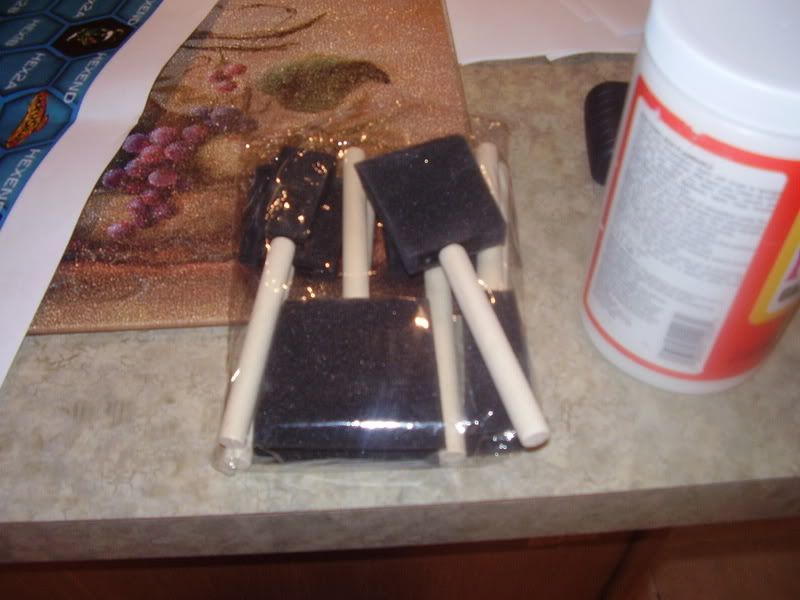
Foam Brushes: Can be bought at any Dollar General for 1$ (go figure). There are 8 of them which will be plenty.
Utility Knife: Everyone should have one around. If not go to Lowe’s and buy a good one and never forget who told you this. Teach your kids to always have one around. They call them Utility Knives because they have more utility than a fork.
Instructions:
This is a fairly easy project. You just need to know how you want the table to look. I used a Dice Tower from Imax as my inspiration. The tower can be found here:
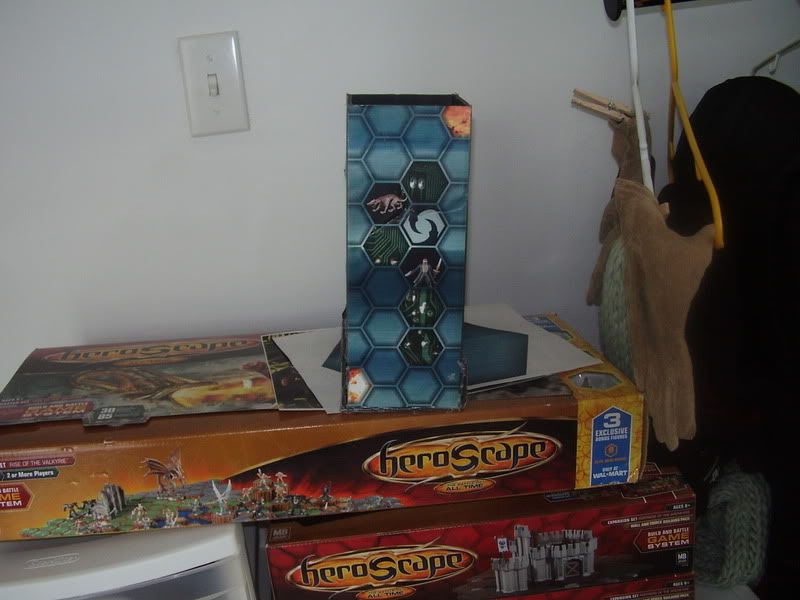
From this dice tower Imax developed the layout. It listed where the hexes were, which are all different gradients, and how it was going to be laid out.
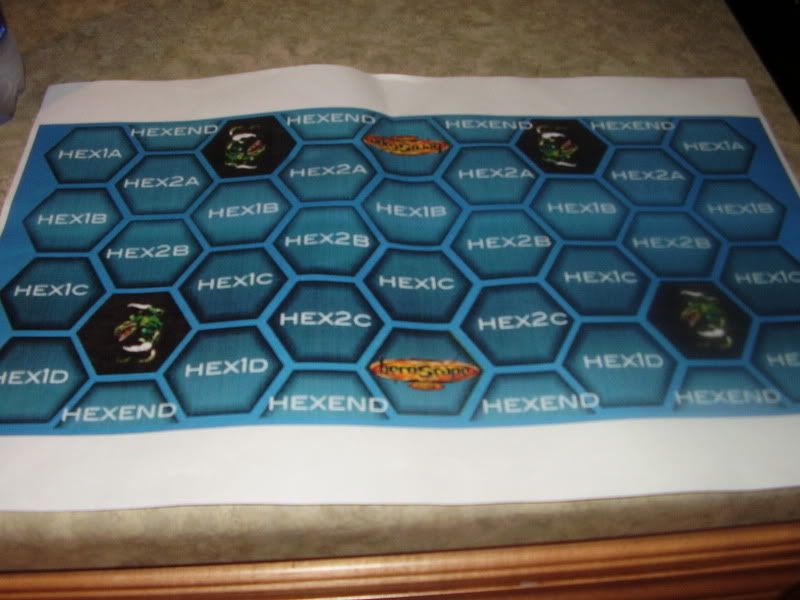
The files will be attached that I used. Have the Hexgrid Layout printed on a 11x17 piece of paper, because you will definitely use this when laying out the paper.
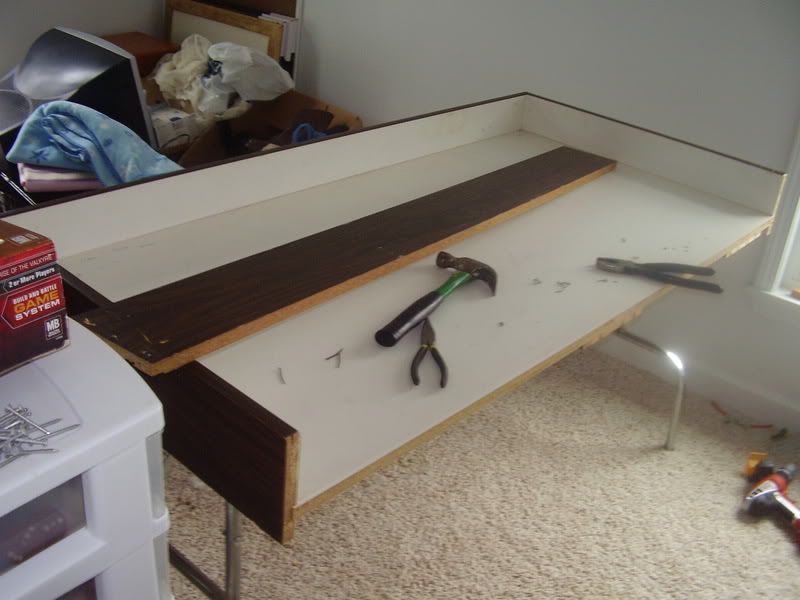
This was the table before the start, pretty standard table. It had a 4 inch lip around all sides that had to go. So here is my disassembling this thing.
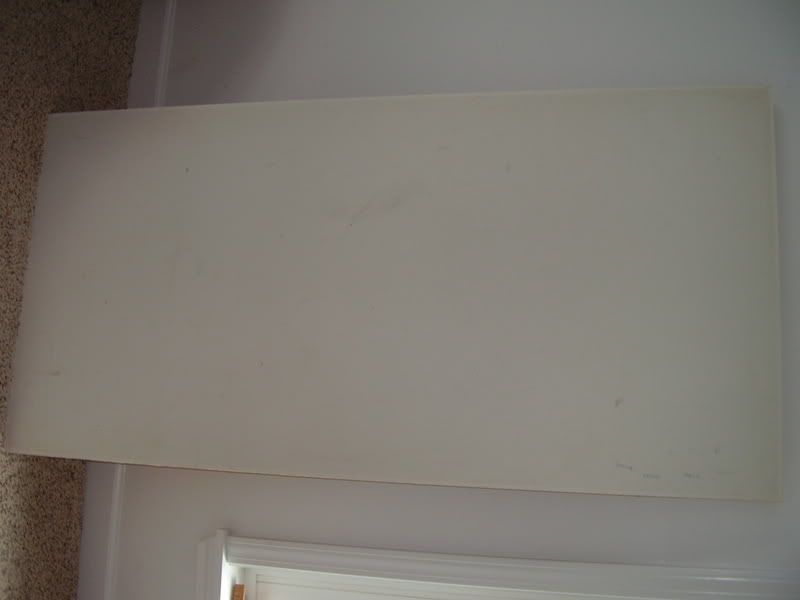
Here is the table completely stripped and ready for its first coat of paint.
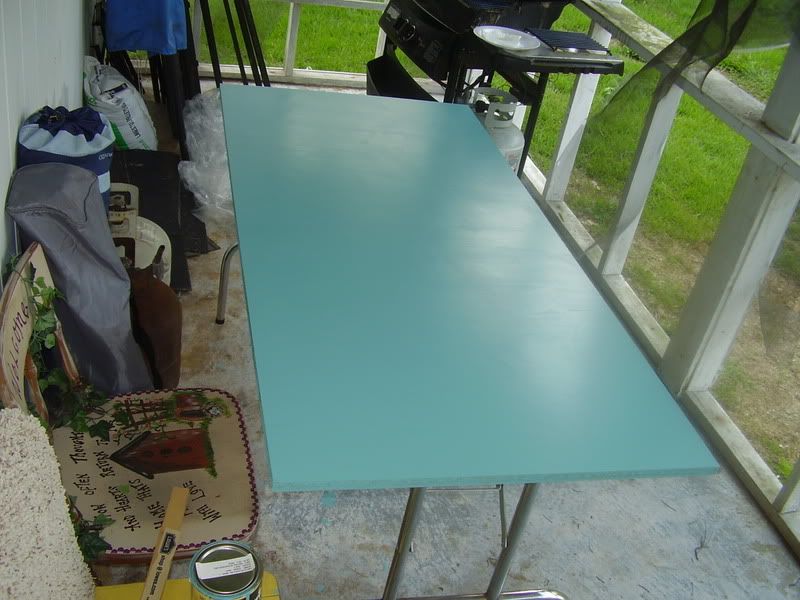
- Paint your table completely, sides and all, with the paint. Use at least two coats, I did three. Use decent brushes to paint the table and make sure that none of the brush hair sticks to the table. Let the table dry completely before you try any mod podge.
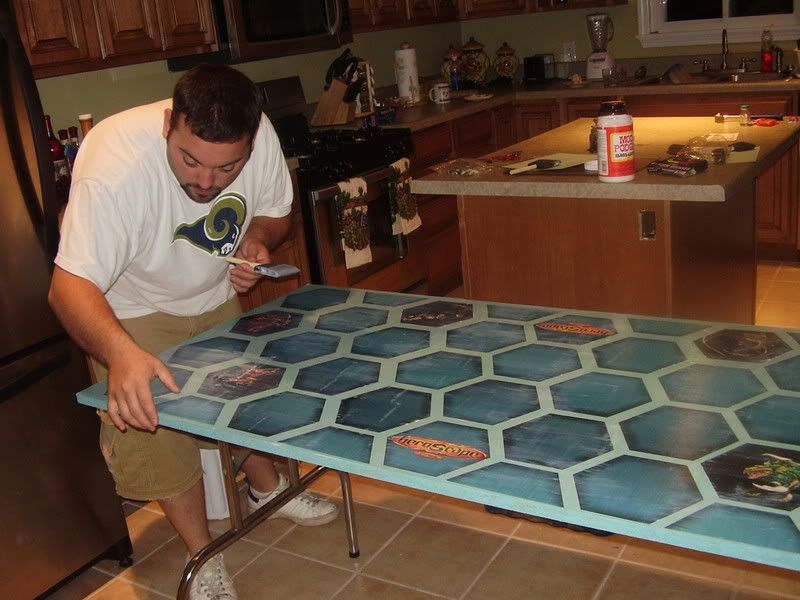
- If all your hexes/pics are cropped and ready to go, lay them out on the table and find out how much space you need to give. I would recommend using a couple laser levels as they would give you some perfect lines to work off of. Once you know where everything is set you are ready for the fun part.

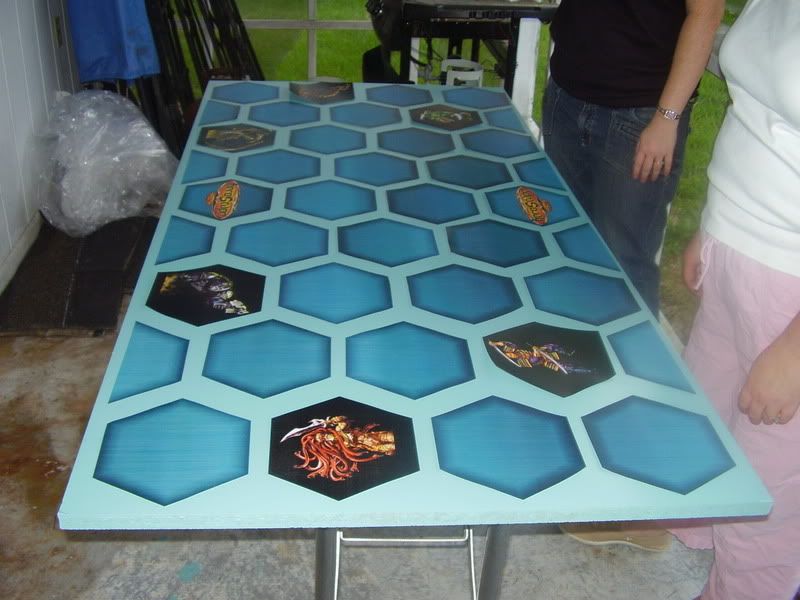
Here was a pic before we started the Mod Podge. We wanted to get everything laid out and find where we would have our lines.
This is the point where this gets a little difficult. The first problem is lining everything up. We just tried to eyeball the whole thing, while it saved time, definitely was a mistake. I am usually a perfectionist and some of the lines being off really fires me up. I would suggest using some of the laser levels that you can find at Lowes. Get two of them to show your x and y axis and you would be much better off.
The way we glued down the hexes is using the Mod Podge above and some foam brushes. I got like 8 different sizes for 1$ at a Dollar General.
- I used a smaller foam brush and brushed the glue in a hex shape on the table. You do not have to be perfect because Mod Podge dries clear. Once I had the Mod Podge down I would put the hex on the glue and line it up where I needed it. Try to get the hex as straight as possible when you put it down because you don’t have much time to slide it around. Once your hex is in the right position start pressing from the center of the hex to the outsides to get rid of any bubbles that might be there. This will also shove the Mod Podge to the outsides where you can clean up with a paper towel or your finger.
Rinse and repeat step 3 for as many hexes as you have.
Once everything is dried. Use a bigger foam brush and completely coat the table with the Mod Podge. While it looks very white when you paint it over the entire table, it will give it a great shine once it dries up. I let each coat dry for an hour before I laid the next one. I did three coats total and it seemed to work well. Lightly go over each hex and coat it with the white glue. Don’t worry about the Mod Podge, it dries clear and fairly quick. I was also happy about the glue not weakening the paper, or smearing the color. It added a great shine the whole table and really coated it well.
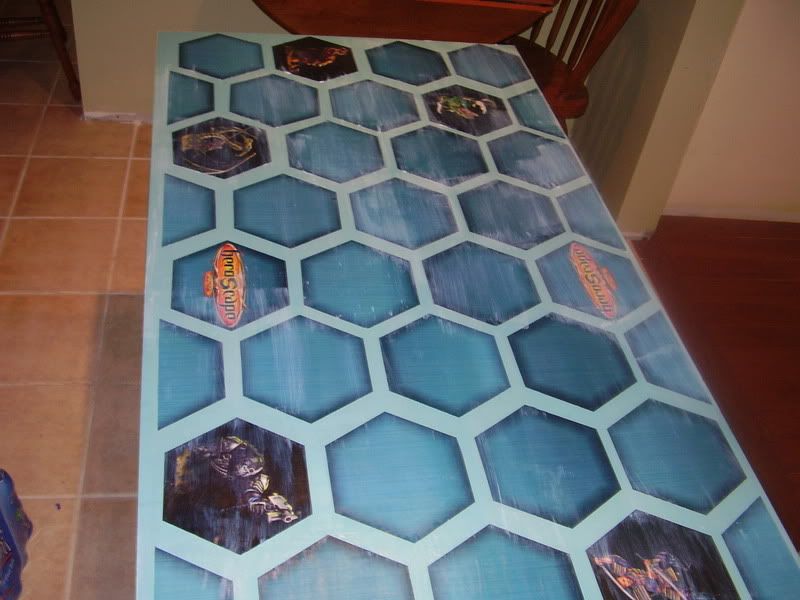
- If there are still any bubbles in the hexes use a sharp utility knife and cut in the middle of the bubble. Then I would add another coat of Mod Podge to seal everything down.
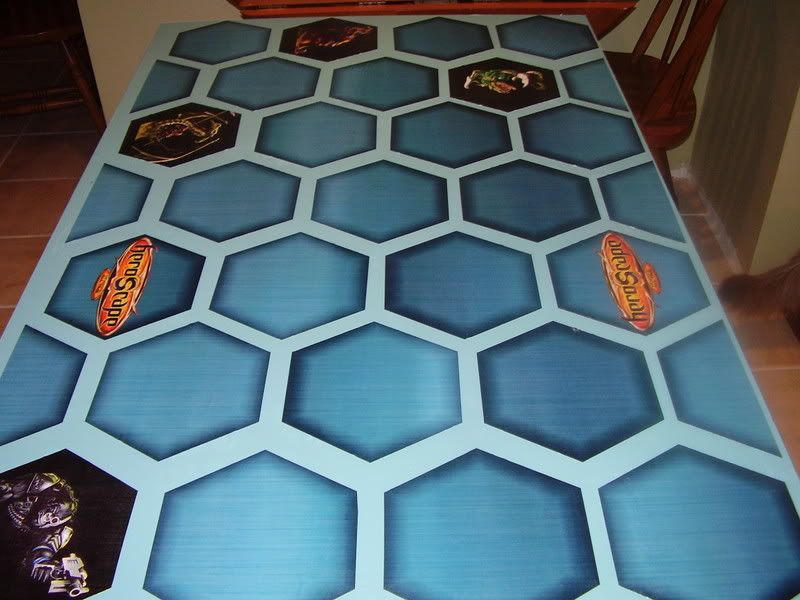
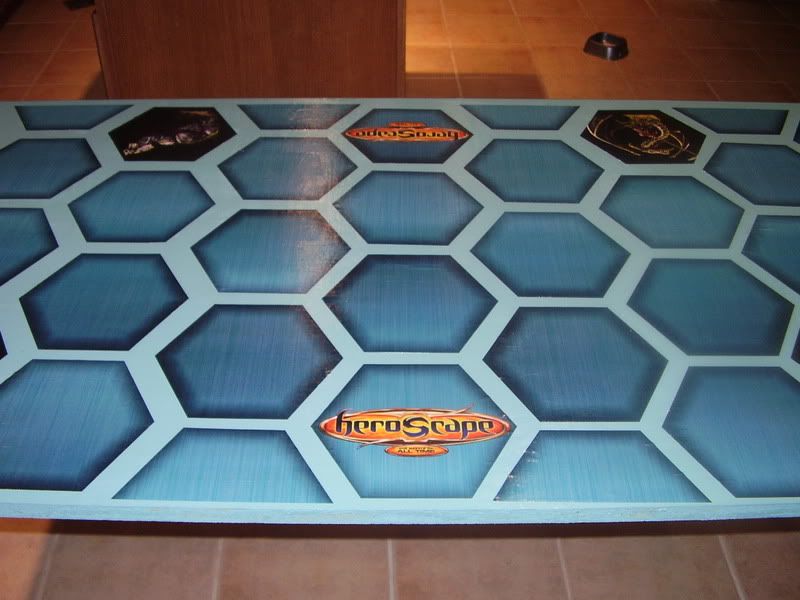
Ok, here is the finished product. Very level and very coated so I am not worried about the paper ripping anymore or getting scratched. I hope you enjoyed this and find youself wanting to make one, feel free to contact me with any questions.
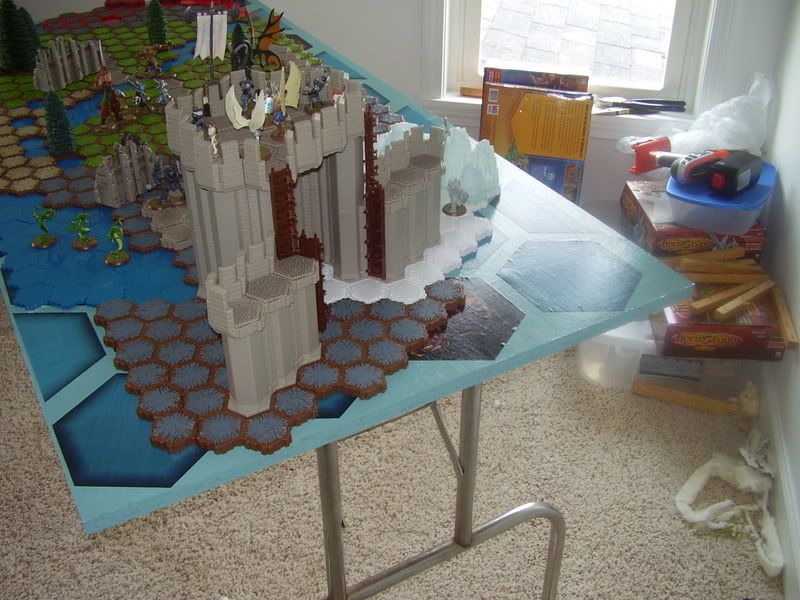
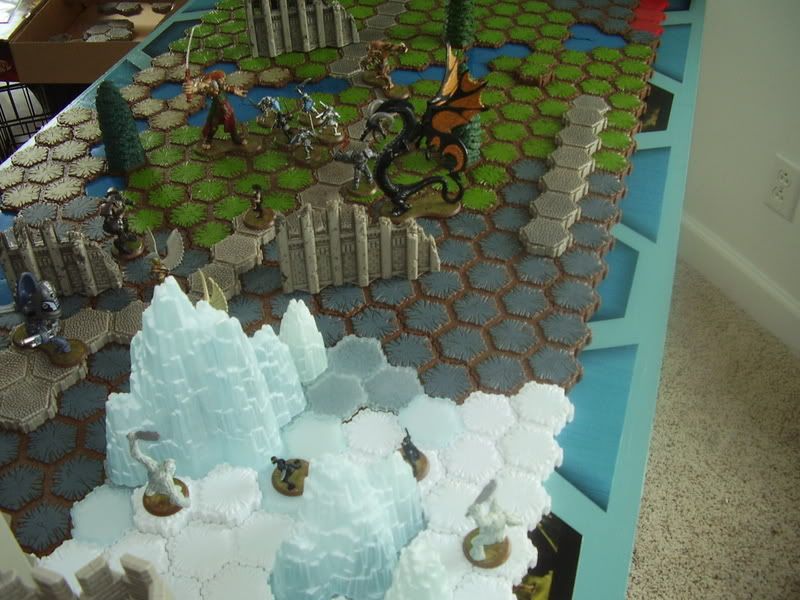
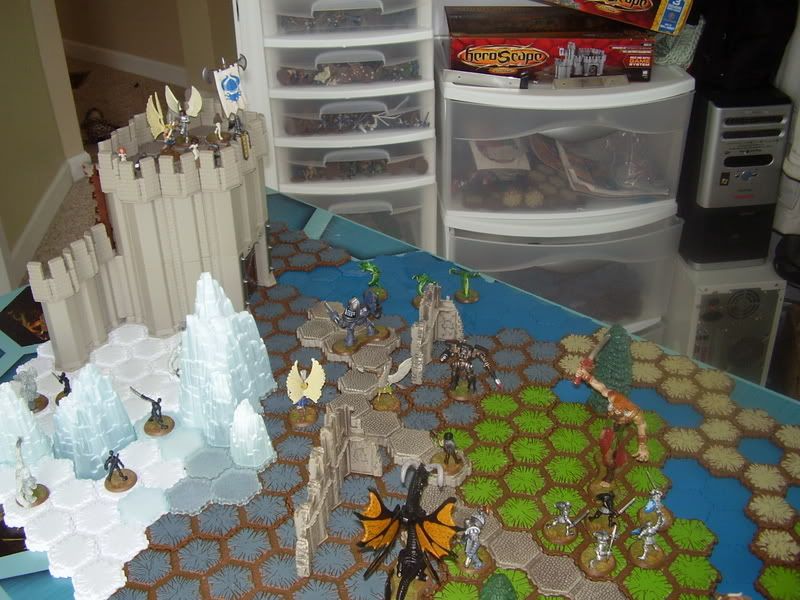
Here are a few shots of it in action.


Thanks for that C28525! I've made an easy to print .pdf including everything you need to make your own and added it to the downloads section. You can find it here: HexTable
Total Comments 0
Comments
Recent Blog Entries by truth
- New NGC Community Customs Contest! (April 1st, 2024)
- Site news (February 28th, 2024)
- NGC Wave 3 Released! (November 9th, 2023)
- C3V Exclusive NHSD 2023 Release (October 18th, 2023)
- OMG, Here Comes C3G 2.0!!! (August 23rd, 2023)


