
|
|
|||||||
| Battle Reports Reports of your Heroscape Battles |
 |
|
|
Thread Tools | Search this Thread | Display Modes |
|
#1
 August 26th, 2012, 06:16 PM
|
||||
|
||||
|
Hey everyone!
15gudasc's Army: Agent Carr, Knights of Weston, Marcus Decimus Gallus, 10th Regiment of Foot x3 Frank's army: Tarn Viking Warriors, Wolves of Badru, Raelin the Kyrie Warrior, Deathreavers, Braxas We played on the BoV map Fossil. 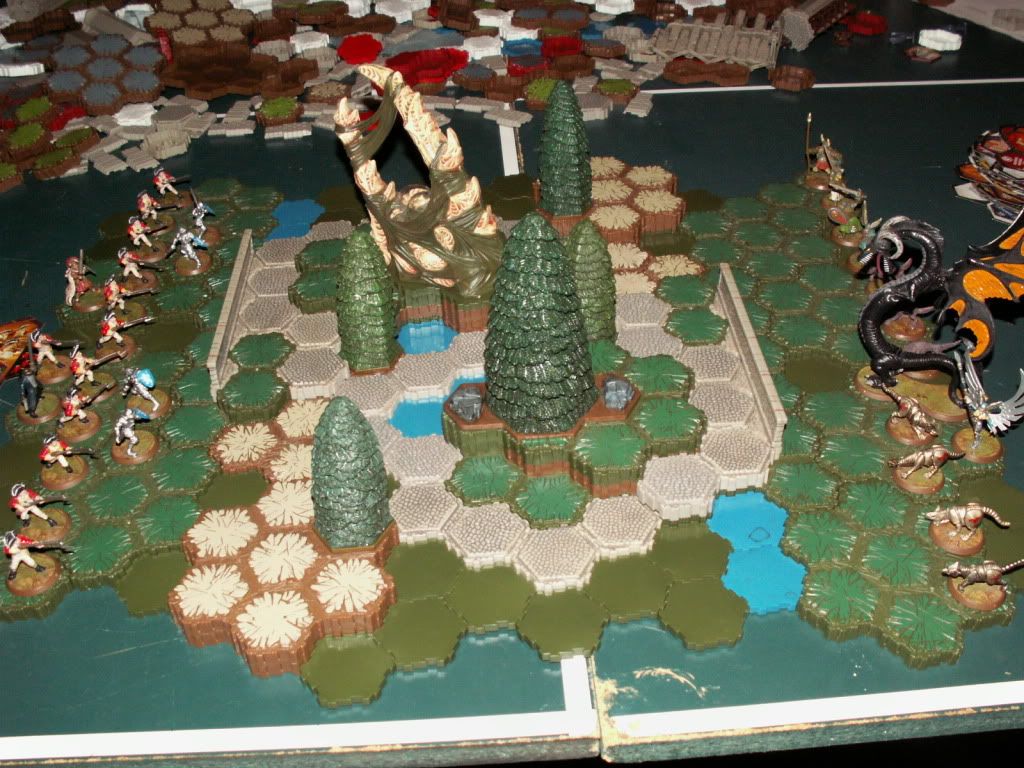 Both armies move toward the center of the battlefield, ready to fight. 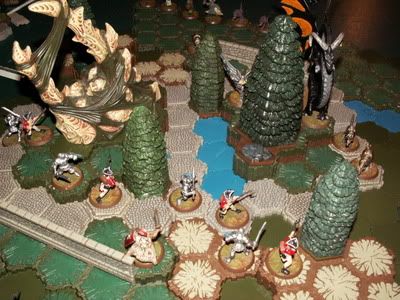 The 10th Regiment gets the first shots, eliminating a Deathreaver and wounding Braxas. 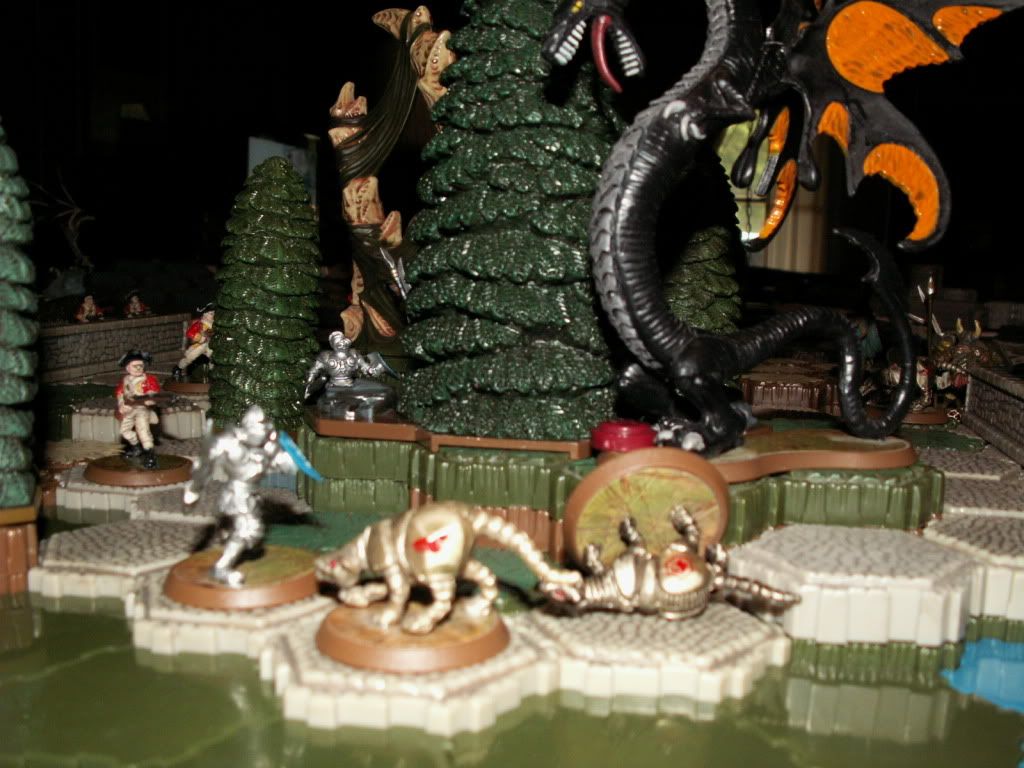 A Knight of Weston moves up to attack some Vikings, but is quickly overwhelmed. 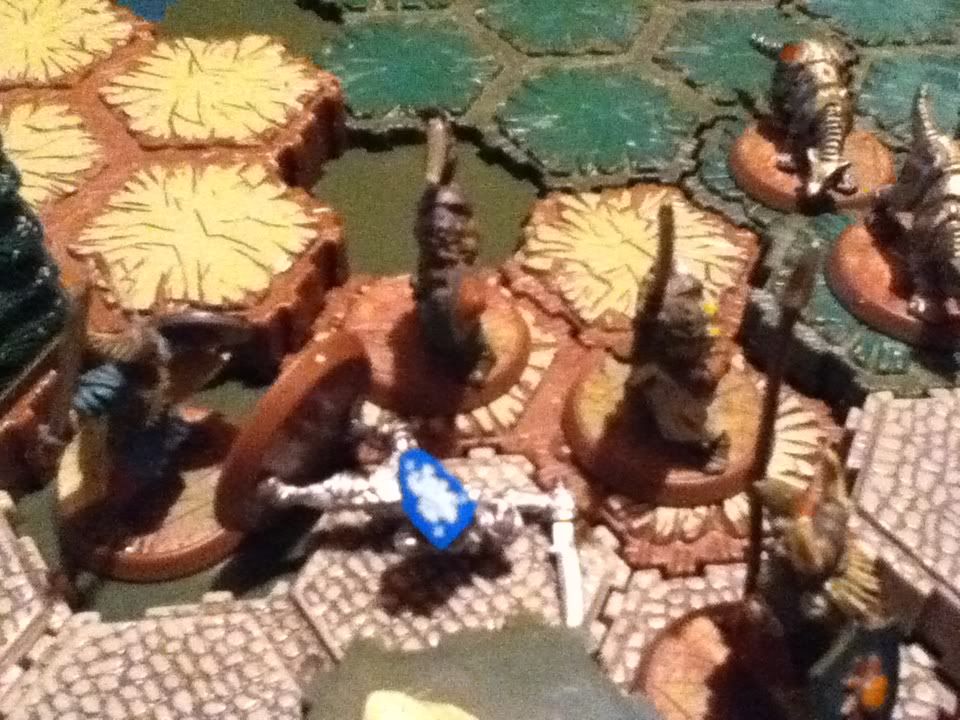 Meanwhile, Raelin moves up to Whirlwind Assault some more Knights. They survive the attack and in turn deal one wound to her. 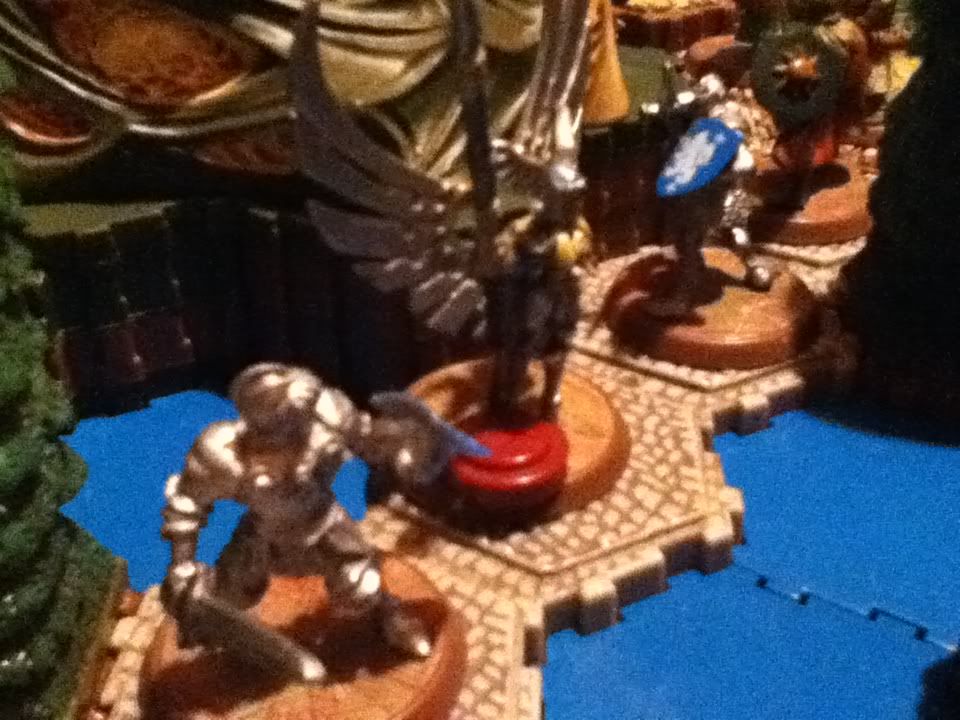 Also, a Knight moves up to attack Braxas, but does nothing. Immedeatley after, a Wolf of Badru pounces on the Knight and kills him. 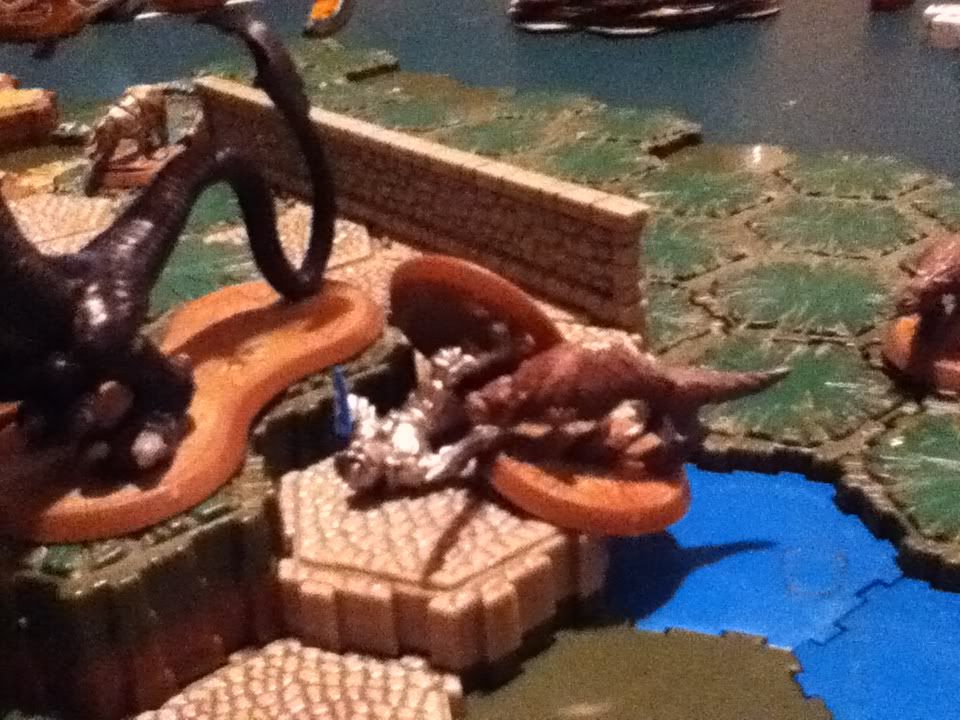 A 10th Regiment kills the pouncer. 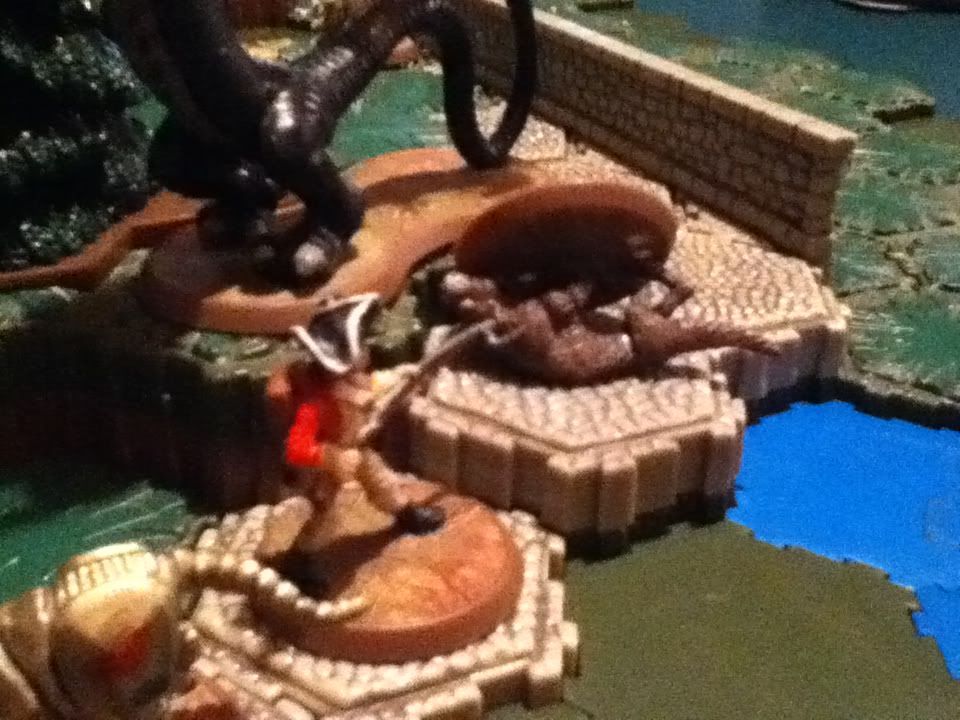 Some other 10th deals a wound to Raelin and kills a viking. 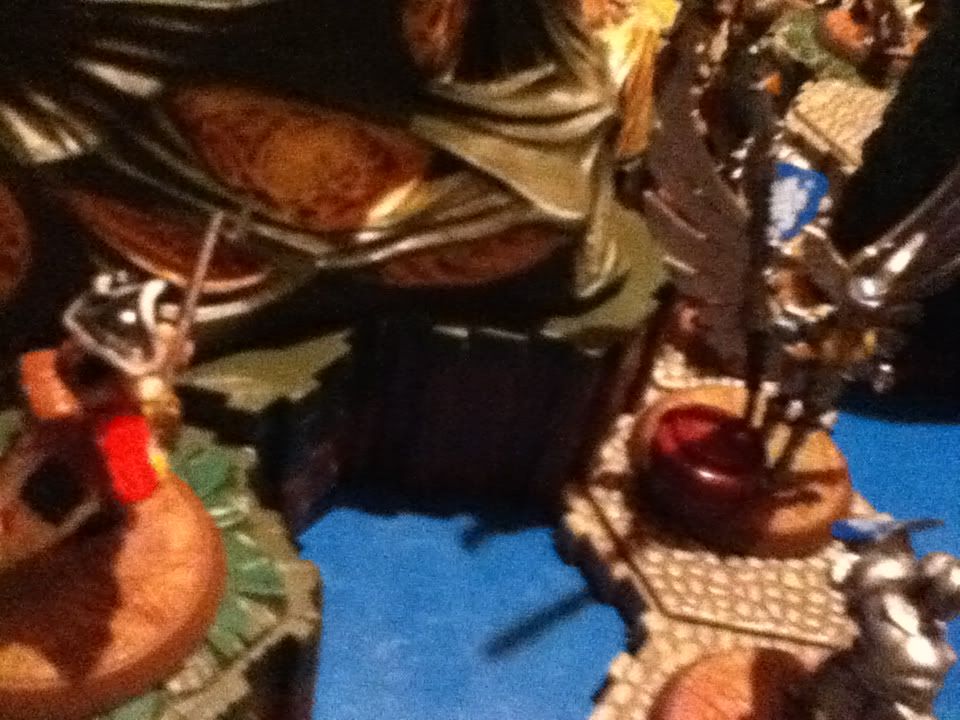 Raelin, dodging all leaving engagement attacks, moves up to some 10th and Whirlwind Assaults them, ending both of them. 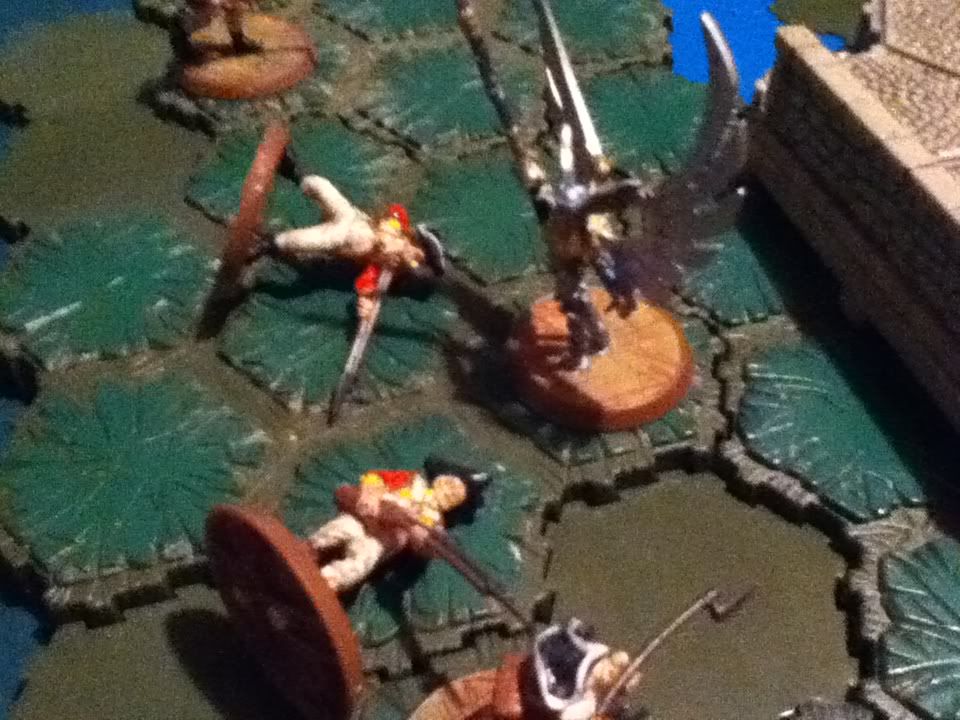 The rest of the 10th weren't happy about losing fellow comrades. They attack Raelin, dealing 2 more wounds. 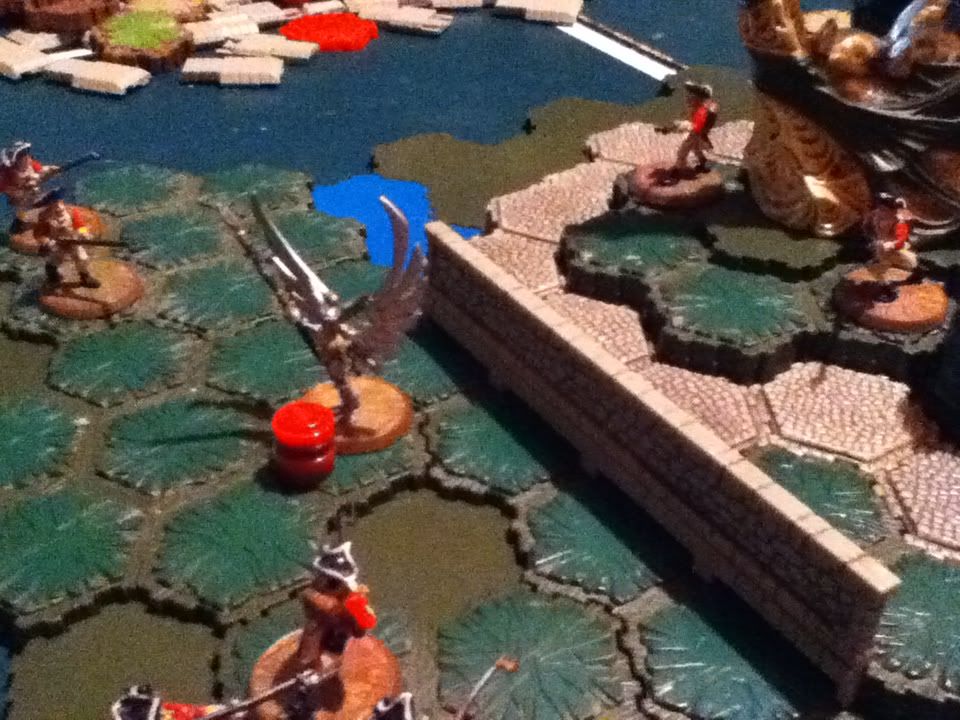 Braxas moves up to use her Poisnouse Acid Breath, but doesn't do any damage. 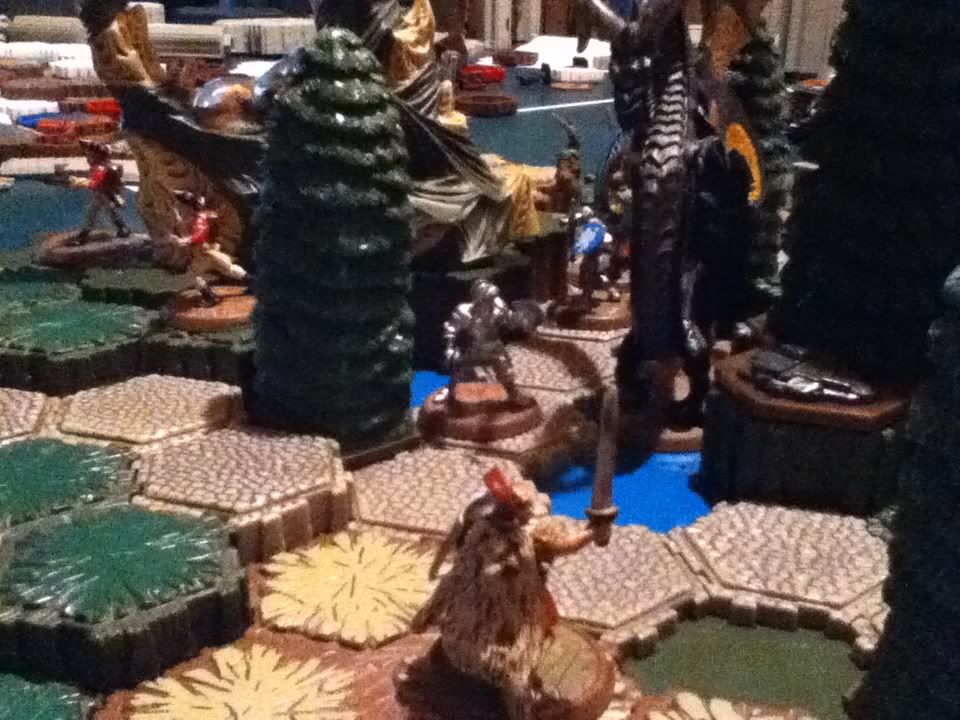 Agent Carr moves up to finish Raelin. 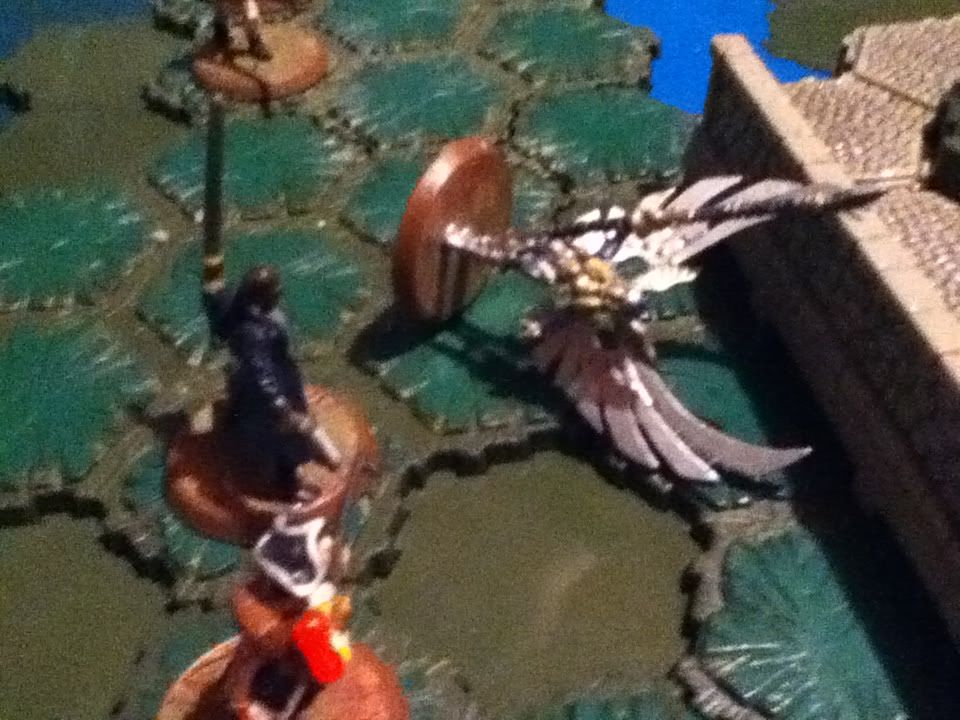 Frank had his next order marker on Raelin, so he lost a turn. Next, some 10th shoot at Braxas, dealing two wounds. 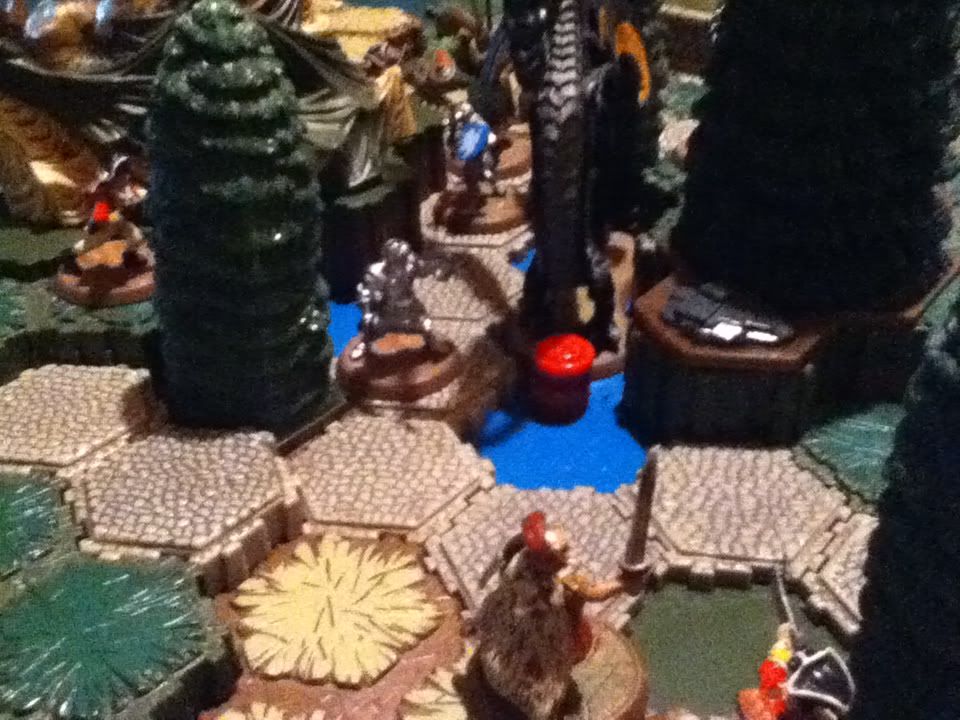 After moving up to take down a viking with his bayonet, a 10th gets cut down by the viking's friends. 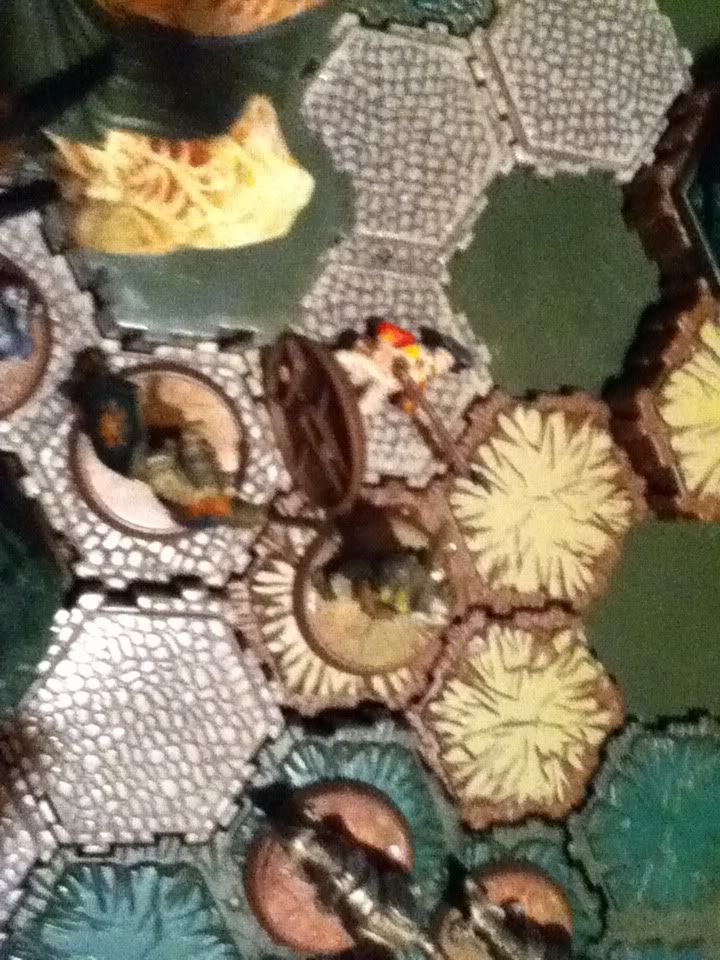 The 10th continue to attack Braxas, bringing her close to death. 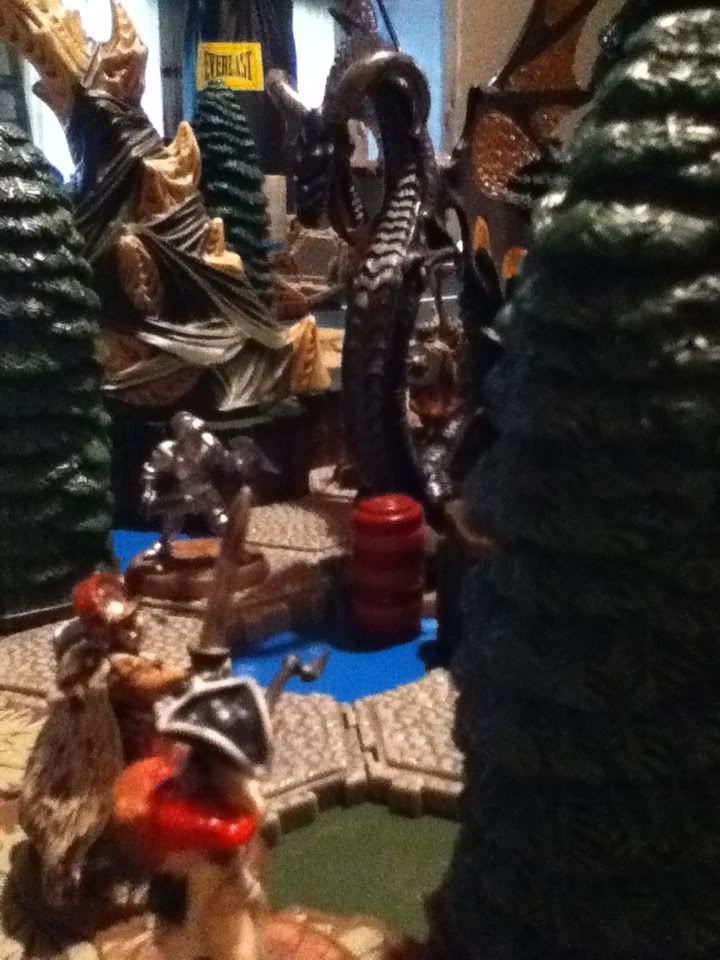 Braxas escapes and uses his poisonous acid breath to take down some 10th and Agent Carr. 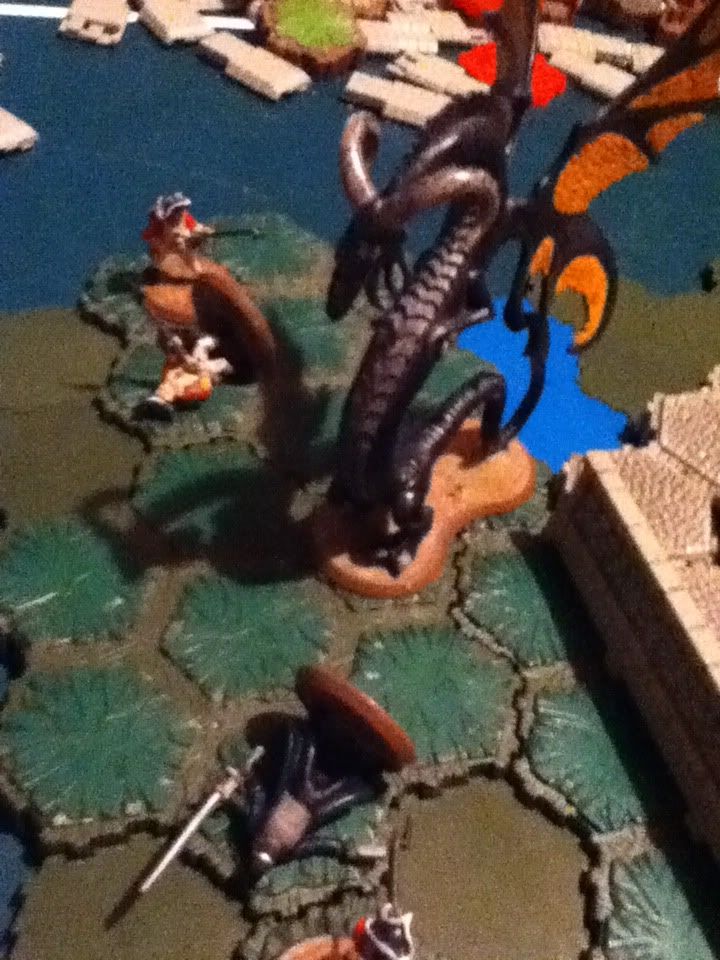 The 10th finally take down Braxas. 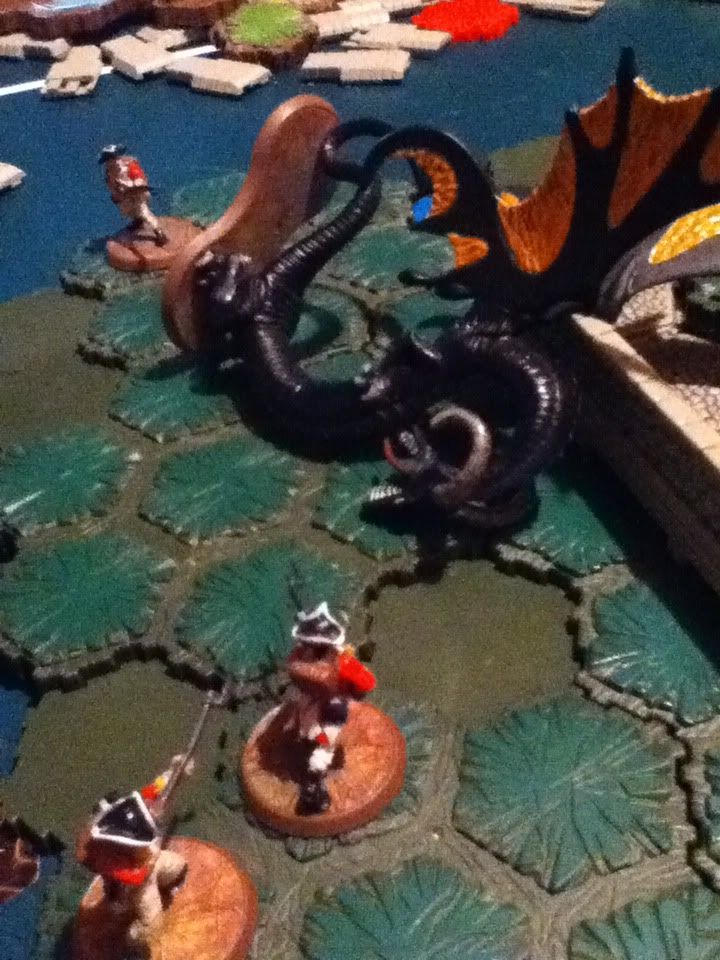 Another Wolf pounces and takes the life of a 10th. 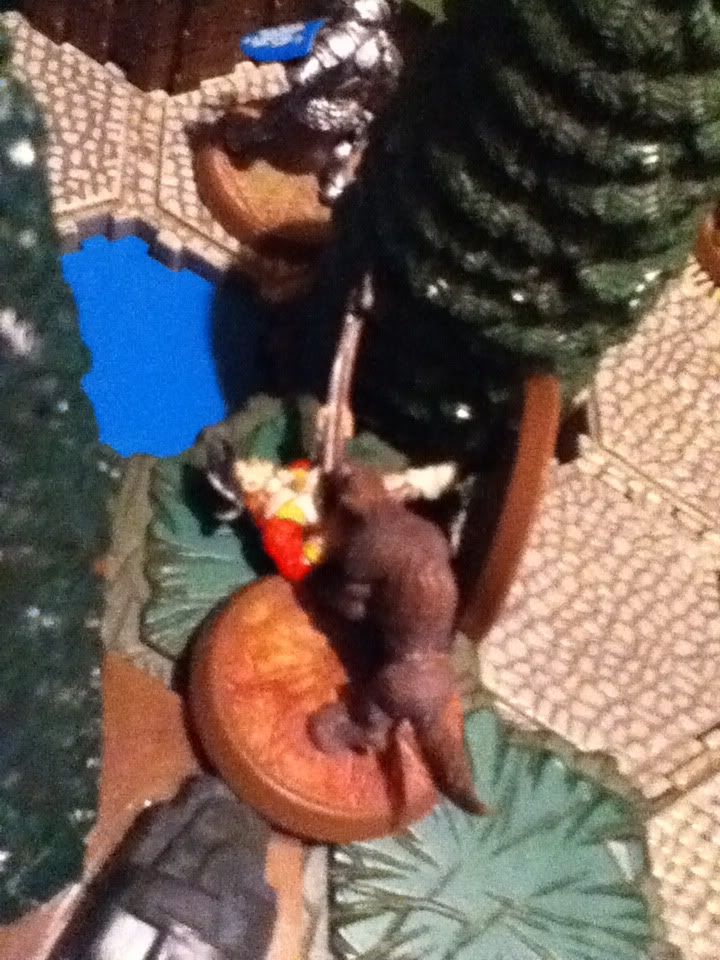 The 10th take out the last of the Wolves and some of the Deathreavers. 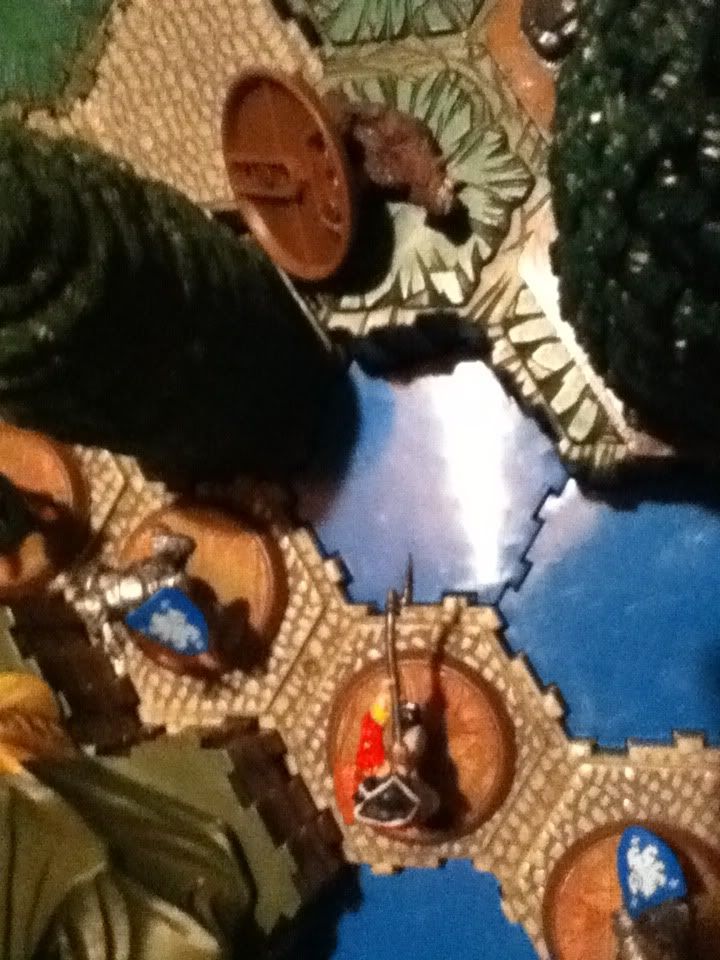 Down to one last Tarn Viking, Frank manages to kill one last Knight of Weston before being cut down.  15gudasc wins! So how did I do for my first battle report! Please comment! =) 
|
|
#2
August 26th, 2012, 06:29 PM
|
||||
|
||||
|
Re: 15gudasc's pictured battle report!
I'd say you did a fine job, the only thing I can really suggest is better picture quality.
|
|
#3
August 27th, 2012, 08:11 AM
|
||||
|
||||
|
Re: 15gudasc's pictured battle report!
What he said^ But I can live with it.
|
|
#4
August 27th, 2012, 12:38 PM
|
||||
|
||||
|
Re: 15gudasc's pictured battle report!
Quote:
|
|
#5
August 28th, 2012, 09:49 PM
|
||||
|
||||
|
Re: 15gudasc's pictured battle report!
Thanks guys! Next time the pictures will definetely be better quality.
I'm looking at doing another report this weekend. I'm having some guys over and hopefully we can get a 3 person battle going. I just hope it doesn't turn into a 2 vs. 1 battle like all 3 person free-for-alls eventually do.
|
|
#6
August 29th, 2012, 10:13 AM
|
||||
|
||||
|
Re: 15gudasc's pictured battle report!
Quote:
|
|
#7
August 29th, 2012, 07:07 PM
|
||||
|
||||
|
Re: 15gudasc's pictured battle report!
That seems like the best idea. I've been reading around the forums and that's what they suggest for 3 person battles.
I wonder, maybe it would be possible to do a 3 vs. 1 where players 1 and 2 are in an alliance against player three, but player three has some advantages. Like for example, players 1 and 2 have 400 points each, but maybe player 3 has 800 points. Player 3 could also have 2 sets of order markers so he is equal with players 1 and 2 in terms of movement and attacks. How well do you guys think that would work?
|
|
#8
August 29th, 2012, 07:32 PM
|
||||
|
||||
|
Re: 15gudasc's pictured battle report!
There's some rules for multiplayer vs. one in the Shadow Caverns download, that was made available after WotC discontinued Heroscape. There's been some discussion of how well they work at the end of the Lost Scenario thread. They might help you?
June Jubilee Results (6/9/2013) || Monster Mash Results (4/20/2013) December Tiny Tourney Results (12/15/2012) || September Showdown Results (9/22/2012)
|
|
#9
August 29th, 2012, 08:24 PM
|
||||
|
||||
|
Re: 15gudasc's pictured battle report!
Quote:
|
|
#10
September 2nd, 2012, 04:43 PM
|
||||
|
||||
|
Here's my next report! It was a 3 way match between Tanner, Travis and I. We played with themed armies. Tanner's theme was Marro, my theme was humans, and Travis's theme was anything else. The camera didn't die on me this time, so the pictures aren't crapy quality like last time!
15gudasc's Army Sir Denrick, Knights of Weston, Krav Maga Agents, 10th Regiment of Foot x3, Airbourne Elite (not started on the board), Finn the Viking Champion, and Isamu. Tanner's Army Marden Nagrubs, Marro Dividers, Marro Drudge x2, Marro Stingers x2, Me-Burq-Sa, Marro Stingers x2, Marro Warriors, Tul-Bak-Ra, and Marro Hive. Travis Kameon Awa, Wolves of Badru, Major Q9, Deathwalkers, Grimnak, and Krug. We played on a map we built ourselves, just for this game. 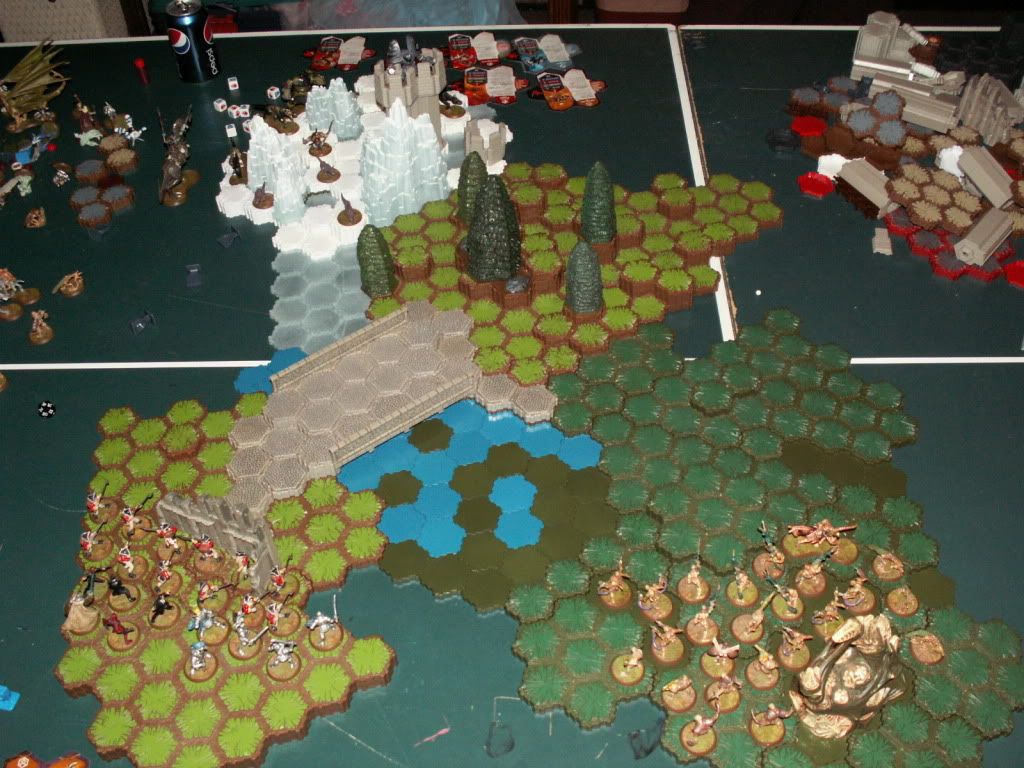 The game starts when some Marro come up to the bridge, only to be exterminated immedeatly by the Redcoats. 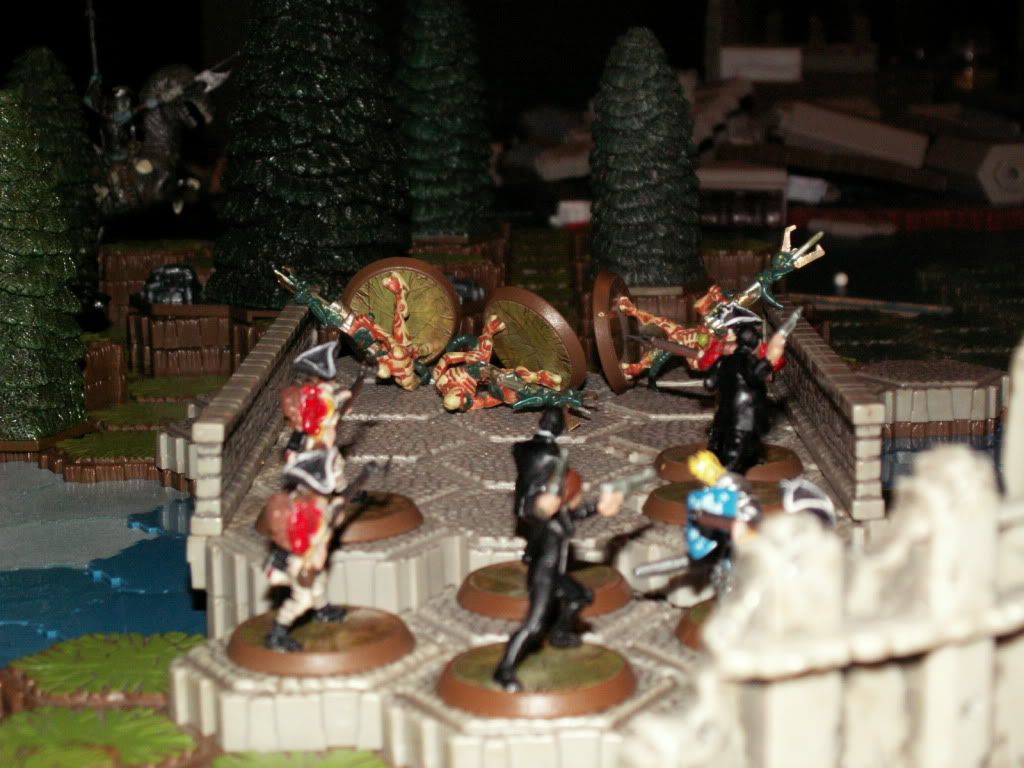 Meanwhile, Me-Burq-Sa uses his parylizing stare to scare a Redcoat, who he then proceeds to kill.  Immedeatley, the British (on the left) are able to take down Me-Burq-Sa in one turn. Also, Grimnak has moved up to chomp on some of the Marro. 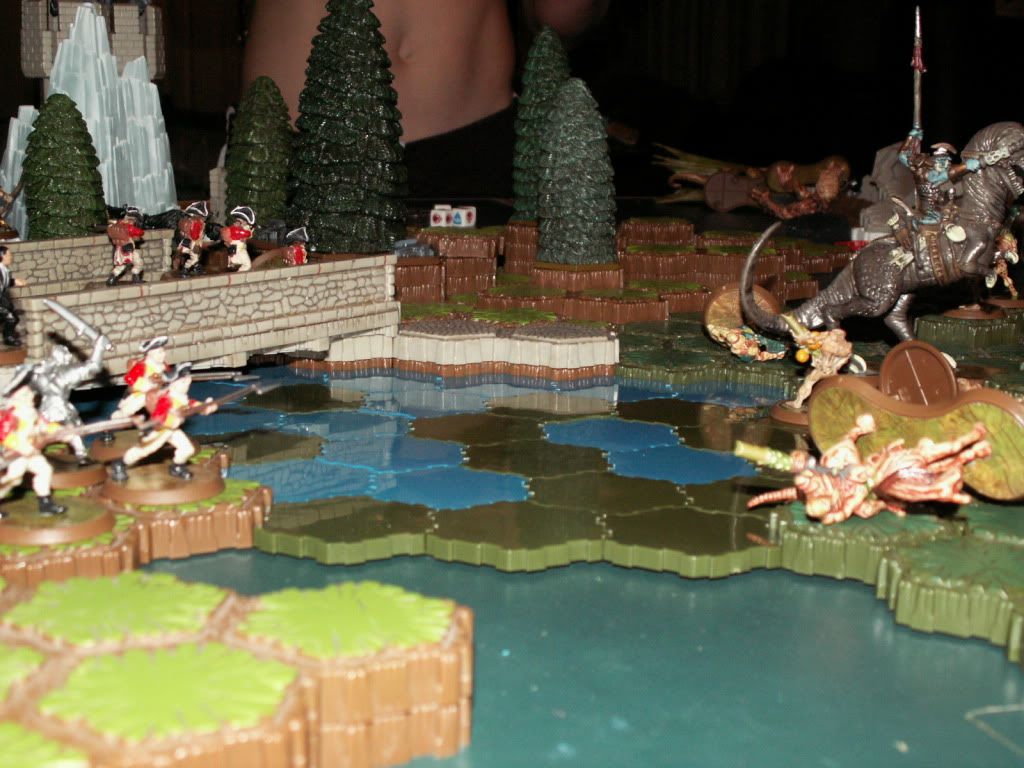 Grimnak is busy leaving a trail of destruction in his path. 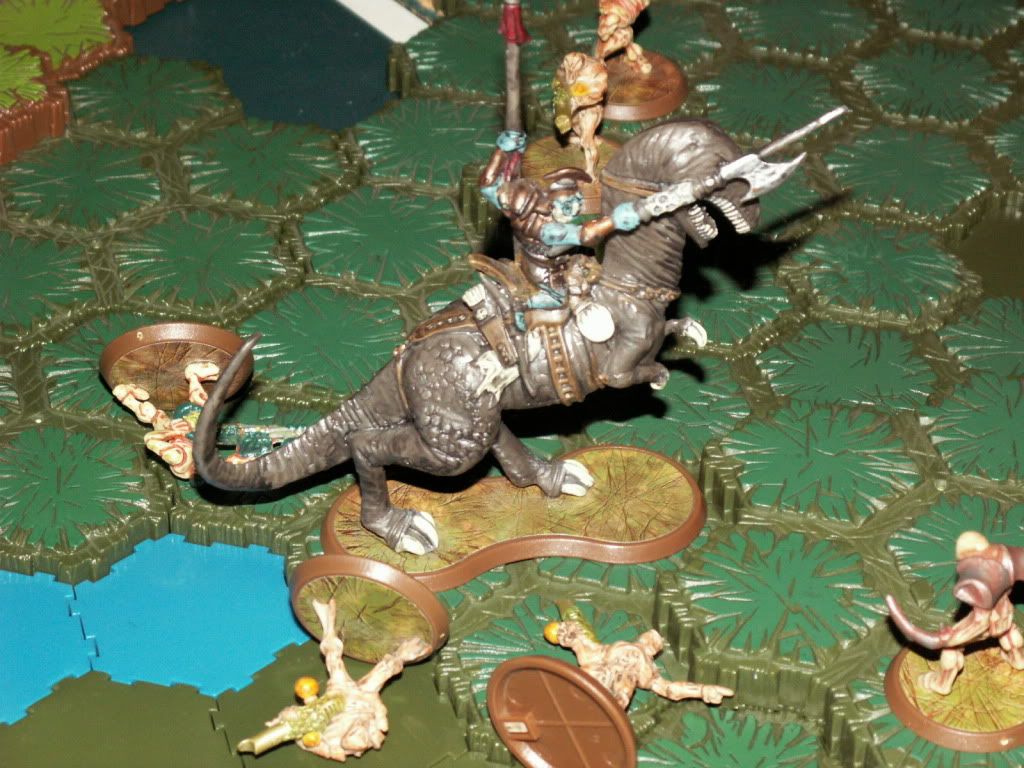 The Marro has had enough. Tul-Bak-Ra teleports over to Grimnak, and after Grimnak gets one last snack, takes him down. 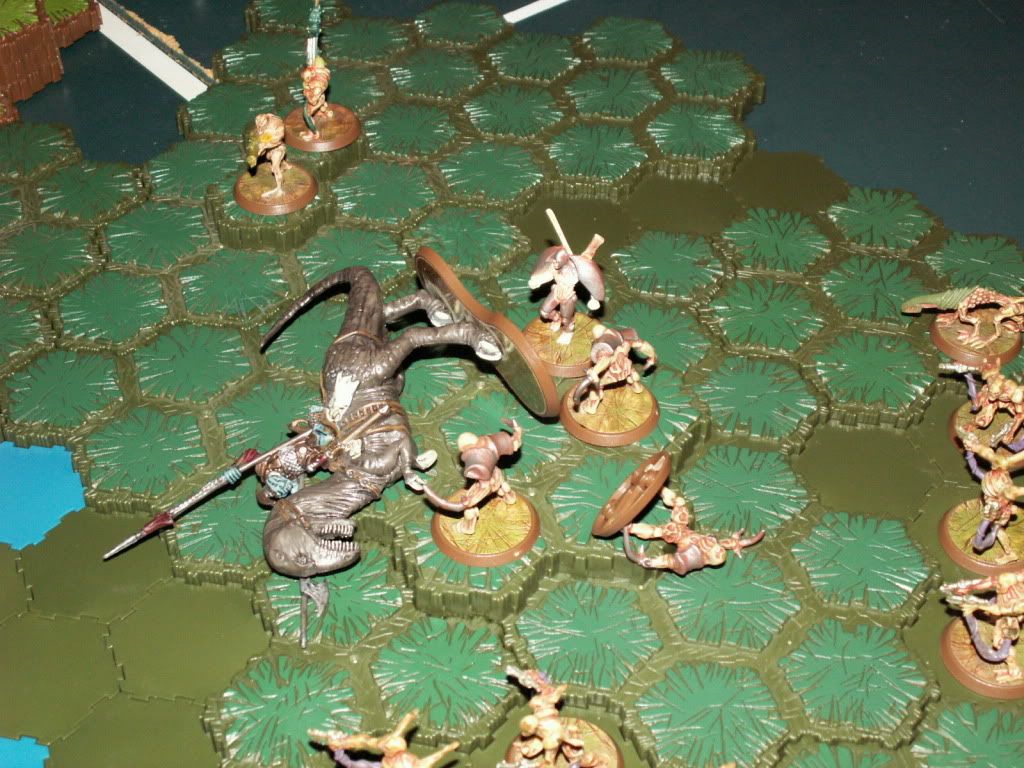 Just when it seems the Marro got a break, the Airbourne Elite drop in and start lobbing some grenades. 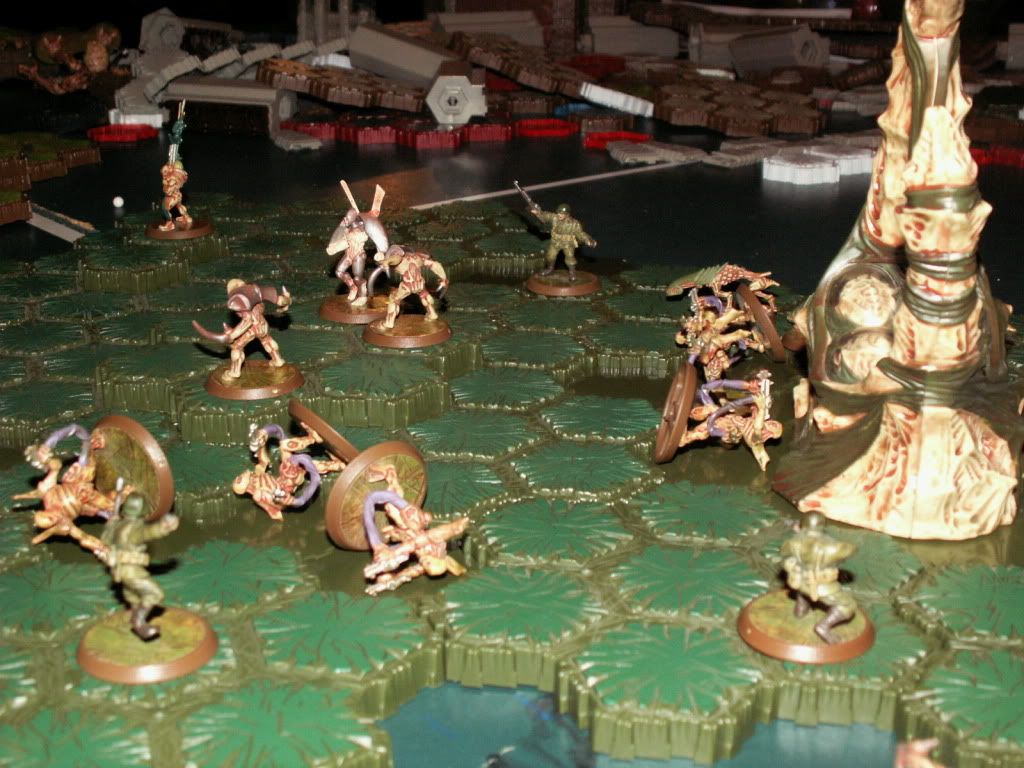 While that goes on, Major Q9 moves out and takes down a 10th with his Queglix Gun. 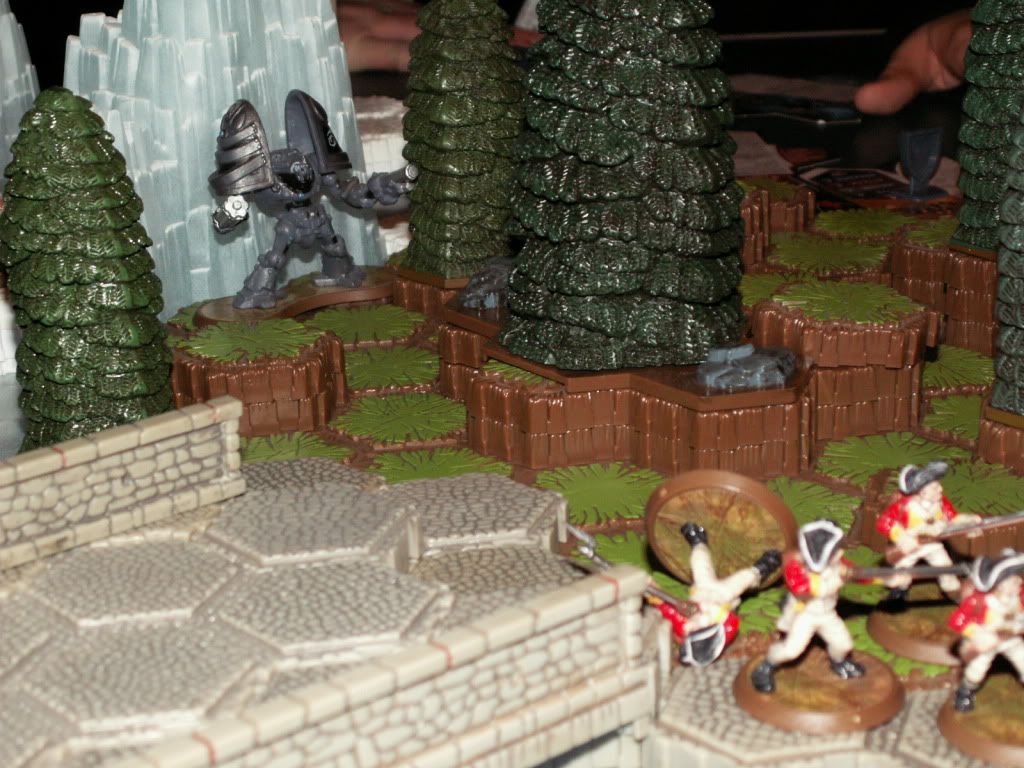 After some other Redcoats try to take down Q9 unsuccessfully, Kameon Awa moves up to take down another. 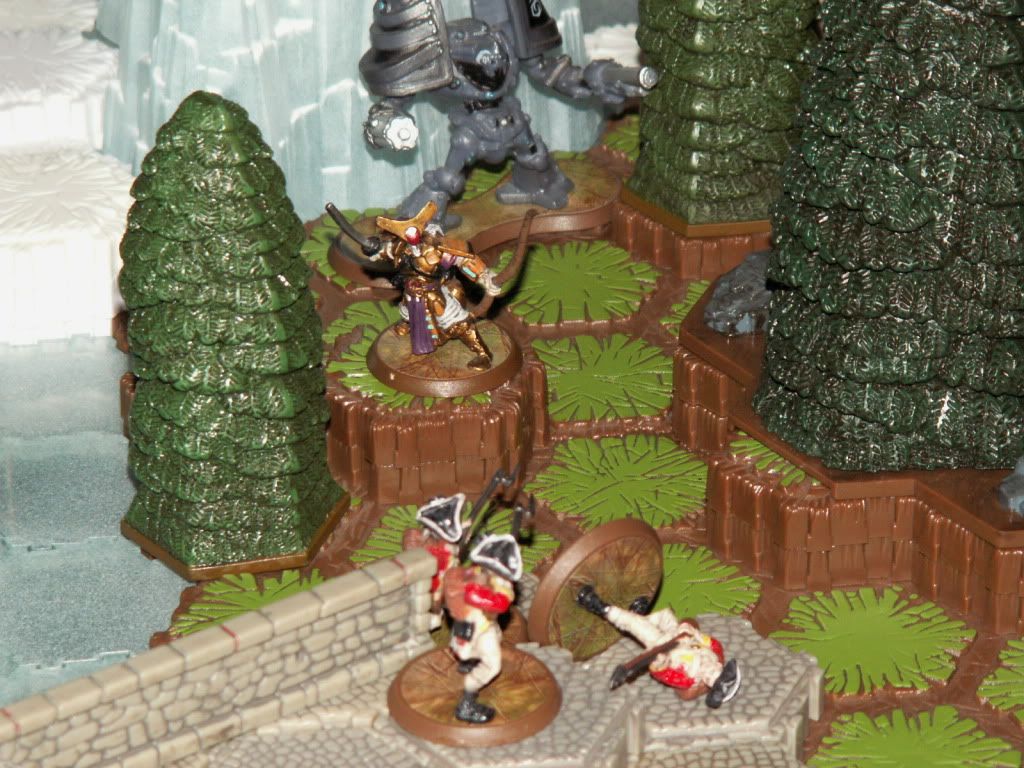 After eliminating that squad of Redcoats, Major Q9 moves up, only to be engaged by the Knights of Weston, who deal 2 wounds on the Soulborg. 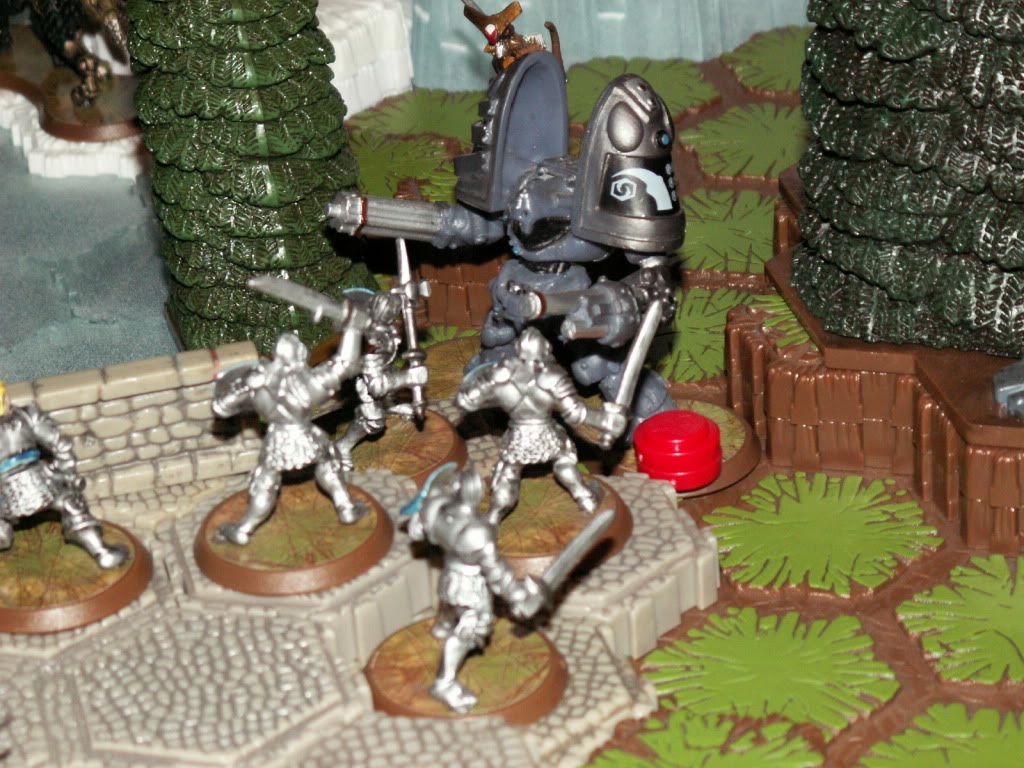 Out of nowhere, a Marro Stinger comes up and gets a lucky shot on Q9. 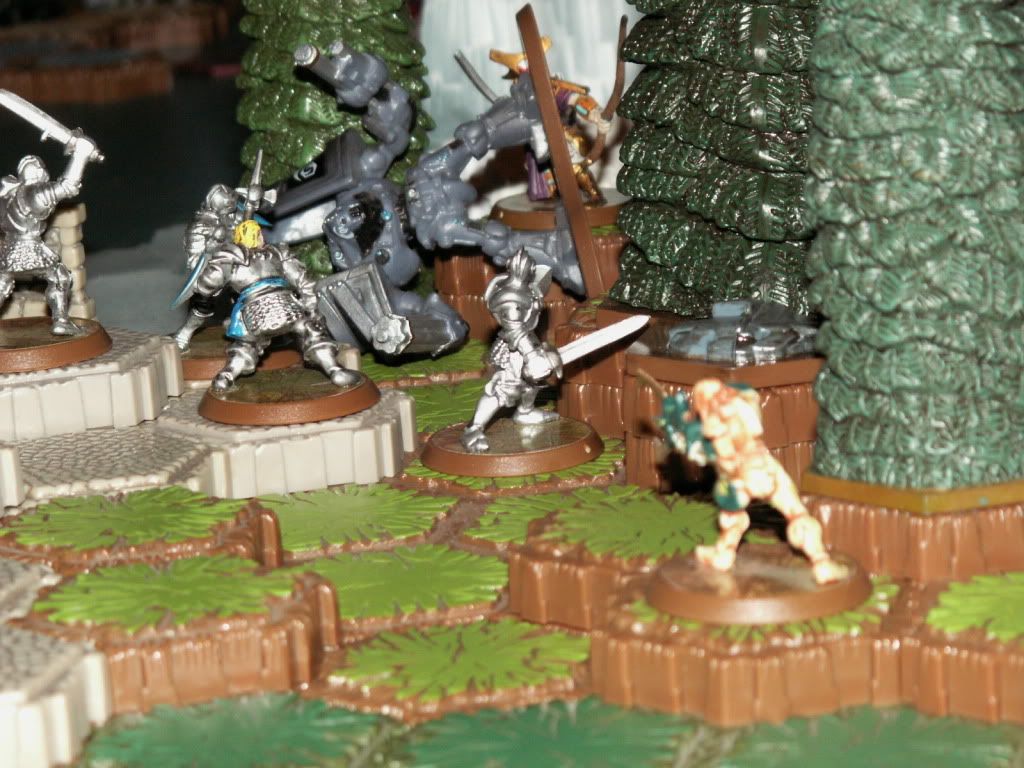 The knights move up to take down the samurai... 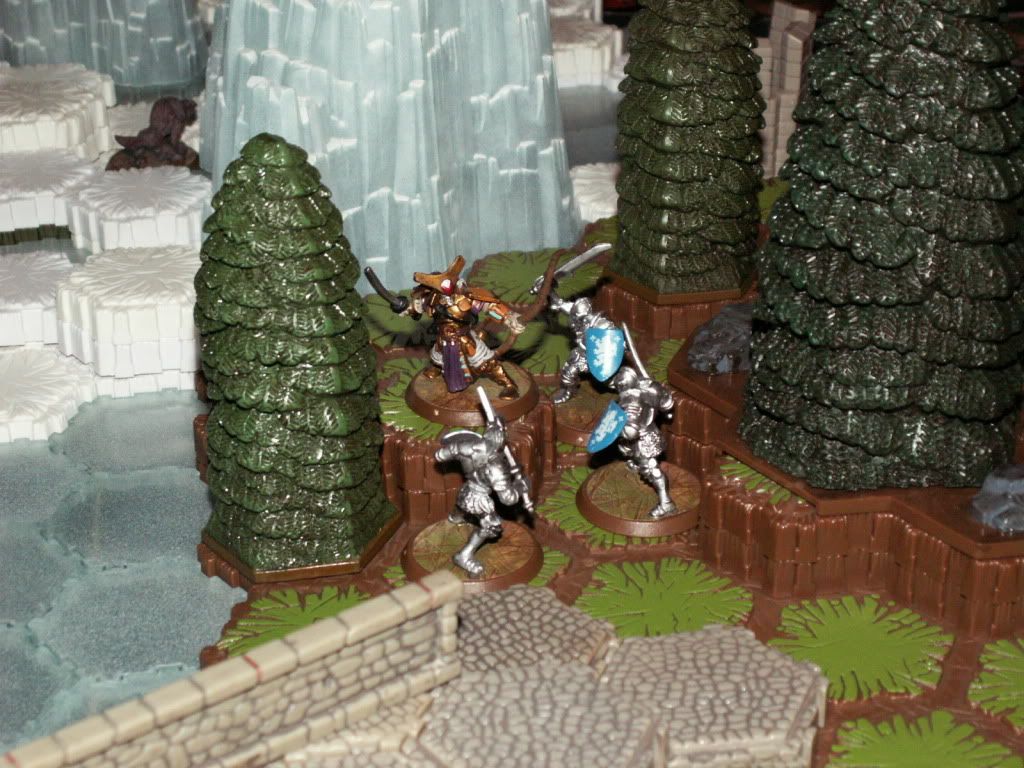 ...but they are all slayed by Kameon Awa's counter strikes. 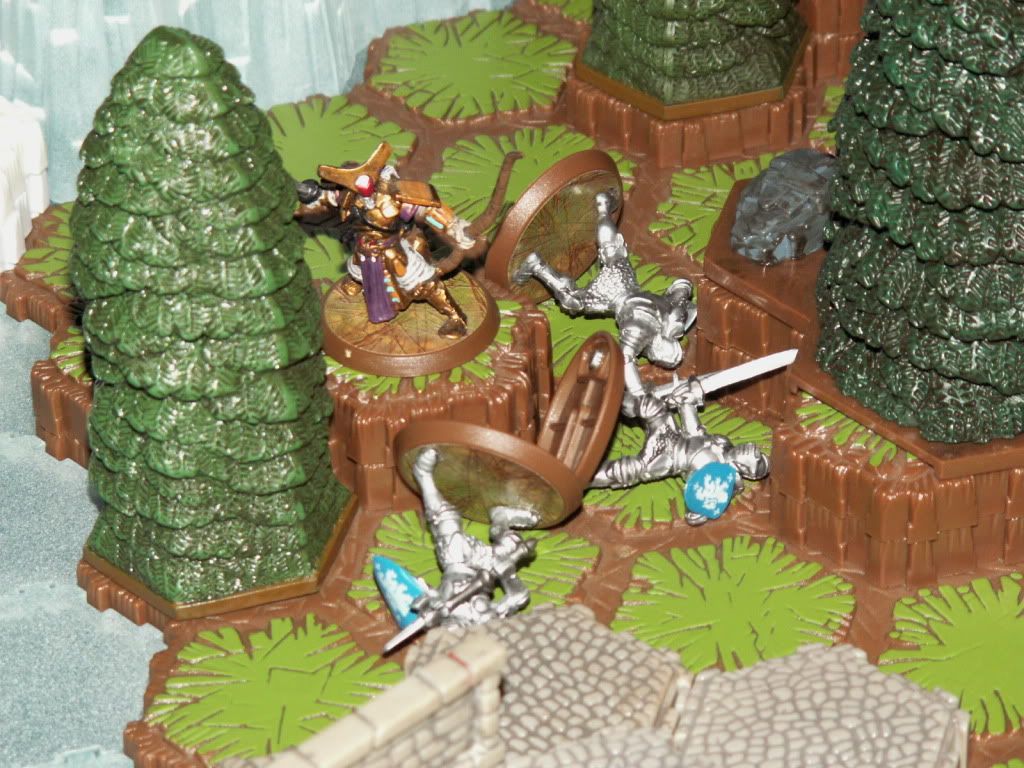 Tul-Bak-Ra teleports over to the bridge and tries to Mind Blast some Redcoats, which doesn't do anything. In turn, they deal 2 wounds to him, but he summons reinforcements, also. 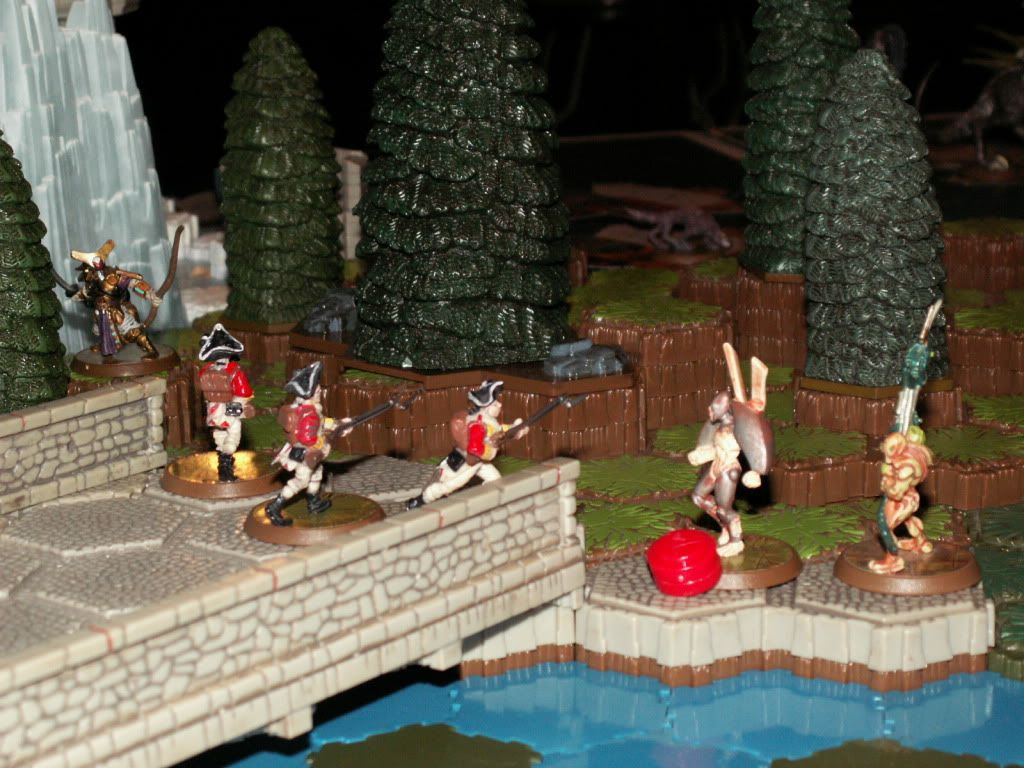 Tul-Bak-Ra teleports to the other side of the bridge to take down one last Redcoat before the Krav Maga Agents gun him down. 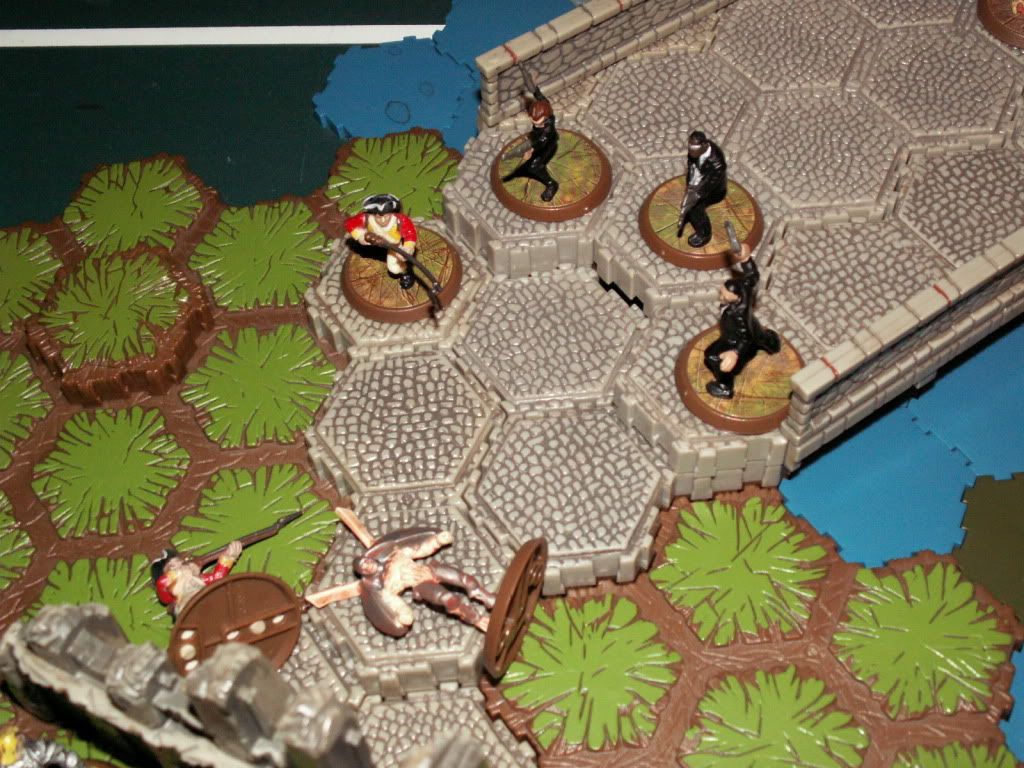 After stealth dodging an attack from the Marro Stinger that killed Q9, they move up the bridge and take him down. 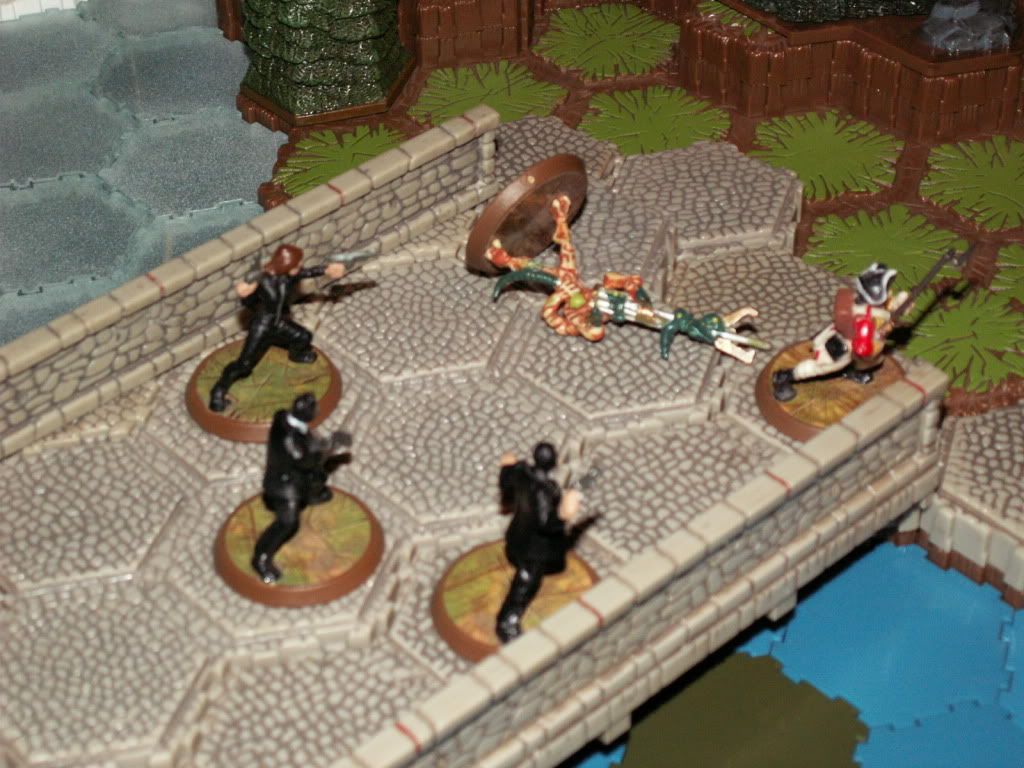 Kameon Awa starts heading out to take down the Marro Hive, but takes two wounds on the way. 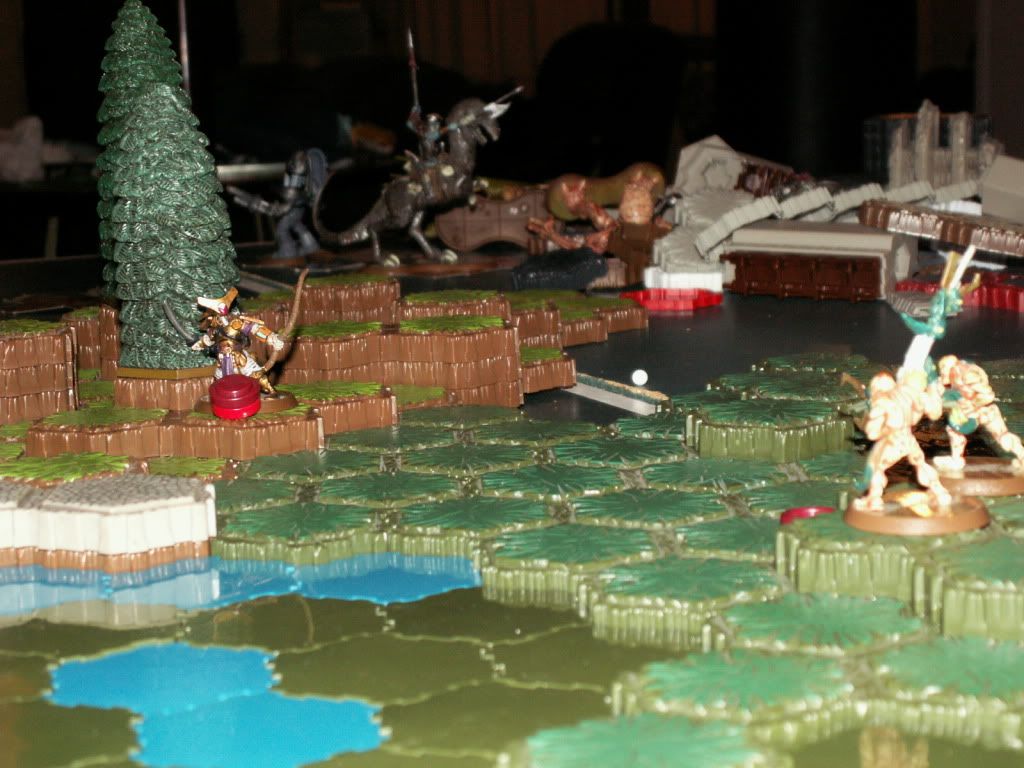 Before being able to do any damage to the Hive, a Stinger, with the help of Finn, take down Kameon. (sorry about the hand in the shot, lol)  Finn tries to evacuate the swamp, but gets cut down by a Divider. 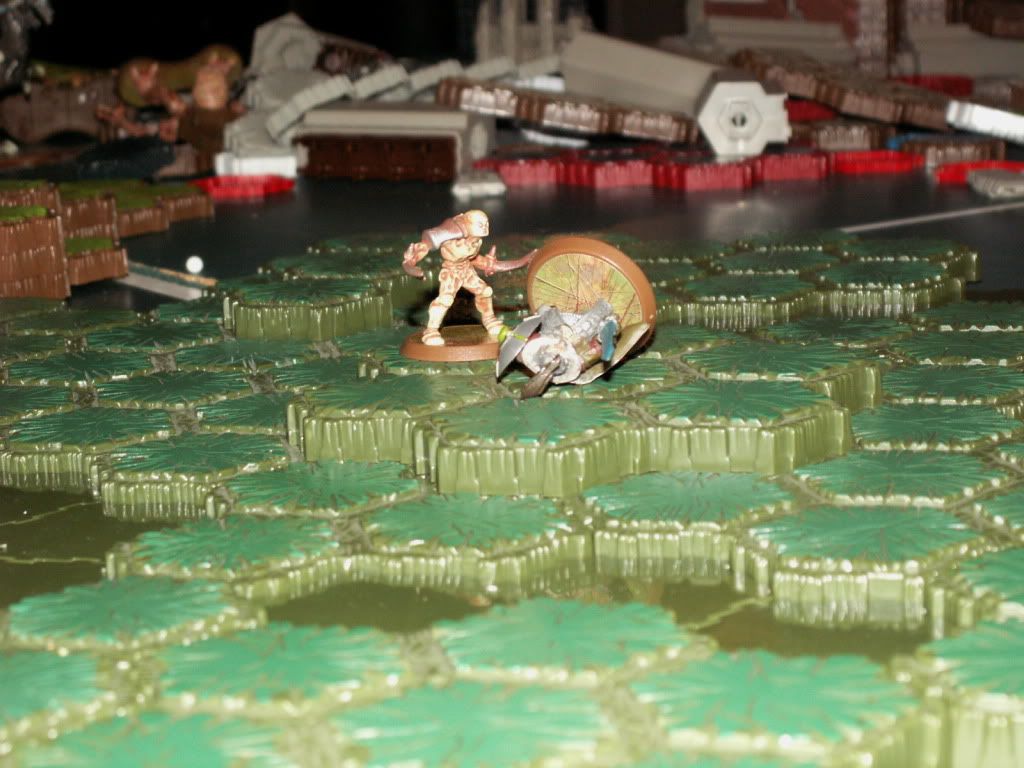 Krug heads out of the Tundra, aiming to elimate the remainder of the 10th. The Redcoats get two lucky hits, resulting in 4 wounds on Krug. 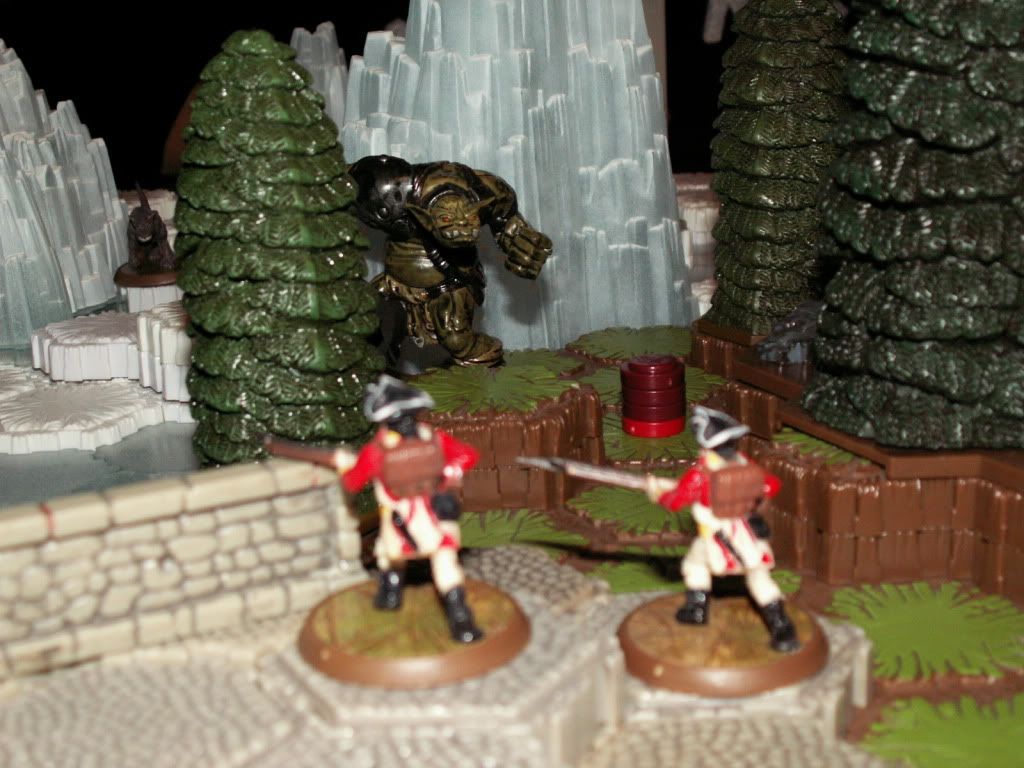 Krug proceeds to wipe the floor with the Redcoats who decided to mess with him.  It was up to the Agents to hold the line, but they weren't able to hold up against Krug's massive double attack. 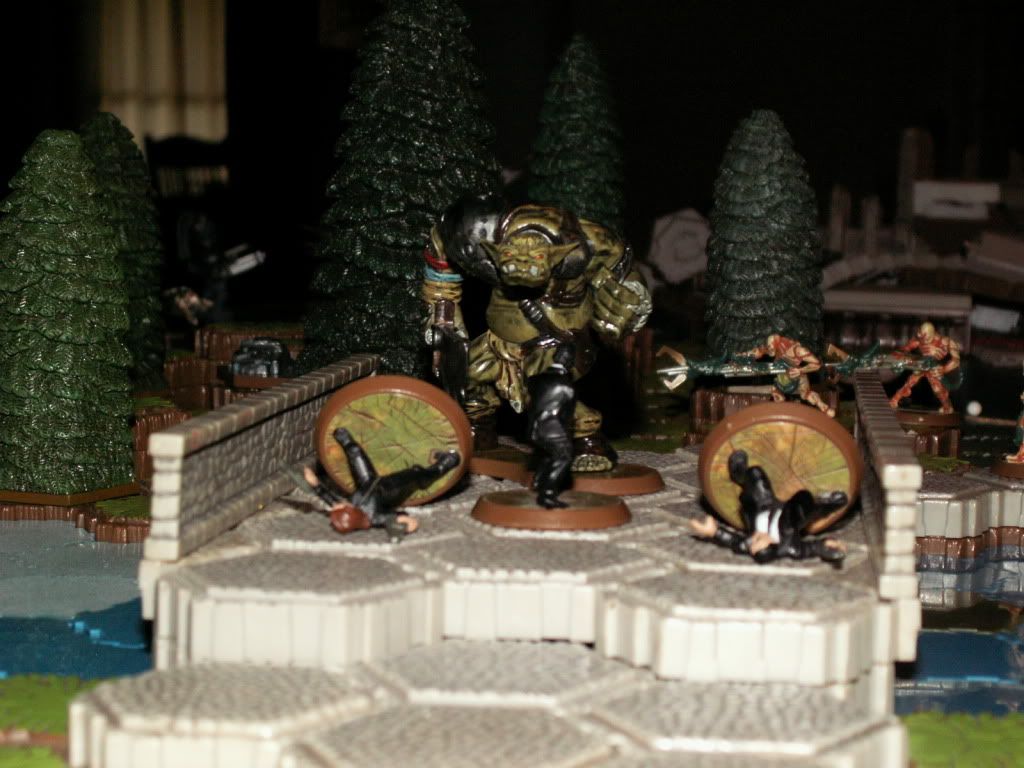 The only survivors of the human army are Sir Denrick and Isamu. 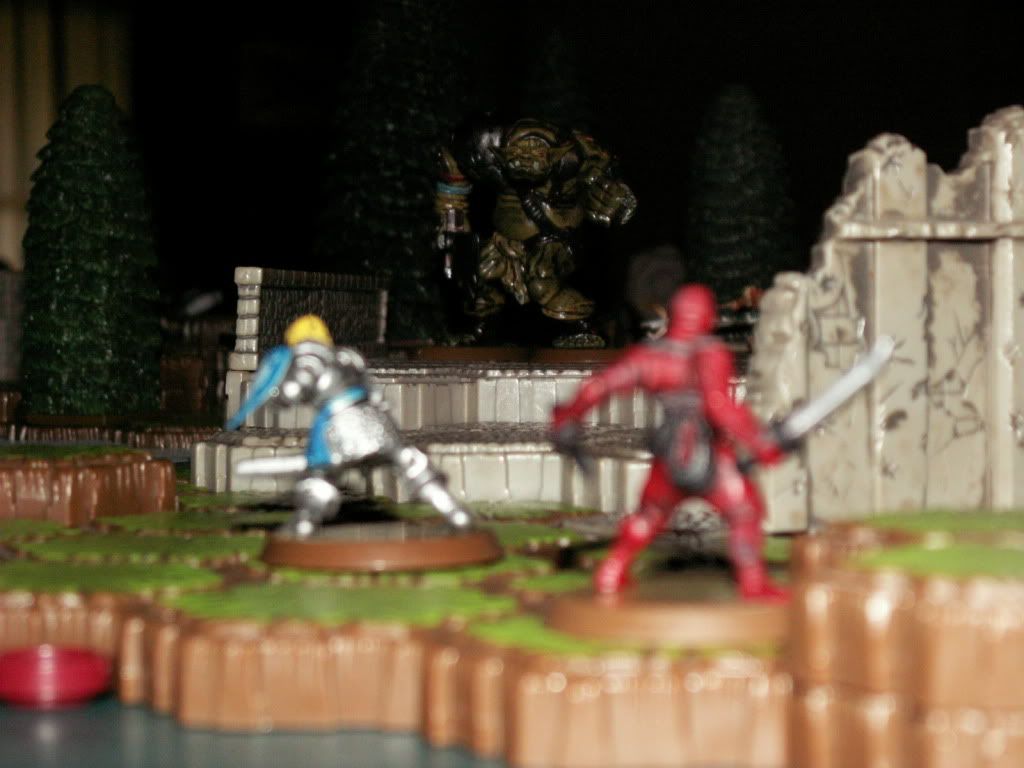 Interestingly, Krug decides to retreat to the tundra. Sir Denrick, knowing he will probably not survive the trip, valiantly chases him. 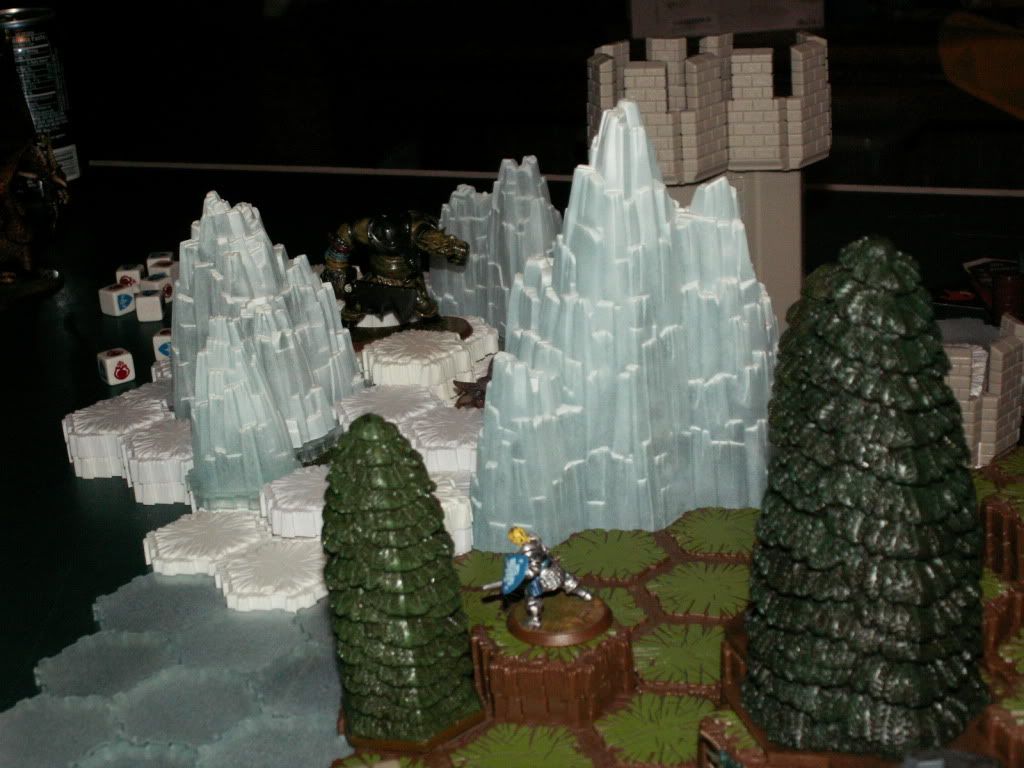 Meanwhile, the Marro sit quietly, using the Marro Hive to rebuild their army... 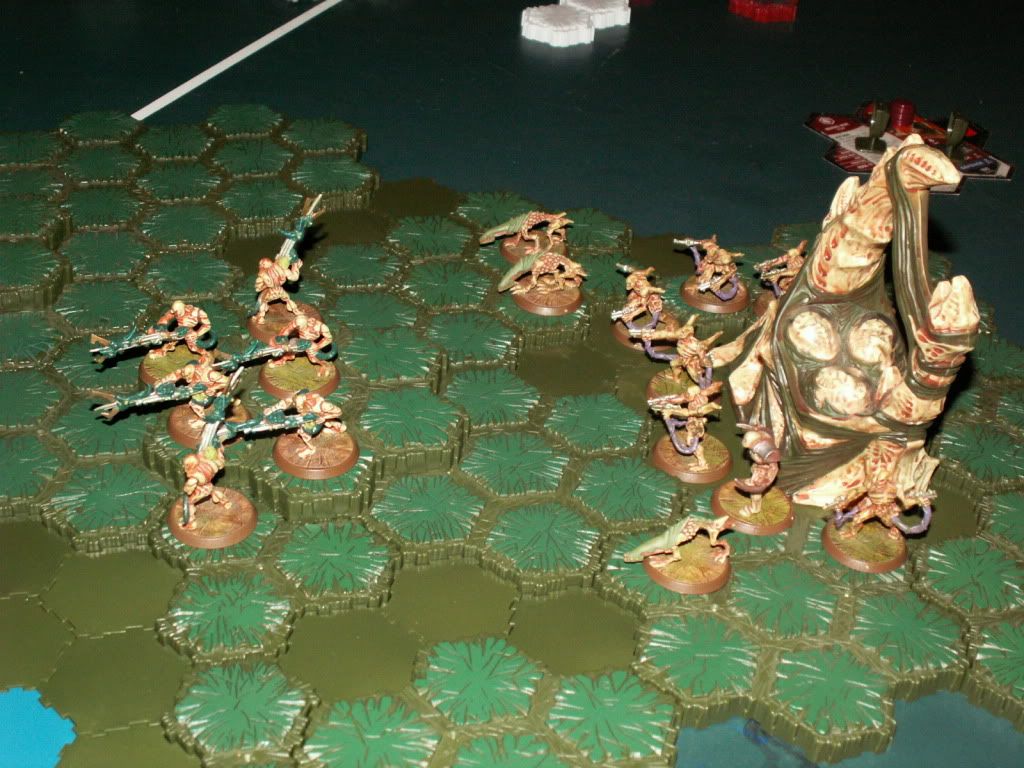 In an epic battle, Sir Denrick deals 3 more wounds to Krug, putting him one wound away from death. Unfortuantely, that also means he has an attack of 9. Sir Denrick amazingly only takes one wound from Krug's double attack, and heroically finishes off Krug. 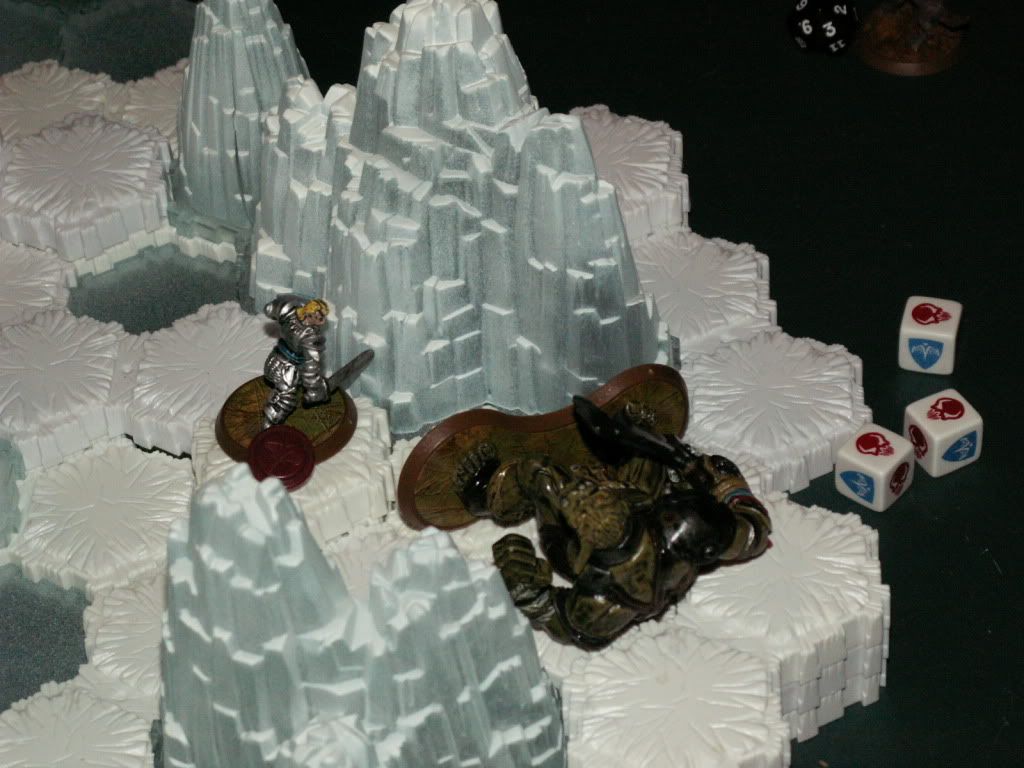 While that was going on, the Marro Stingers have already killed Isamu, and are heading up to kill Sir Denrick next. 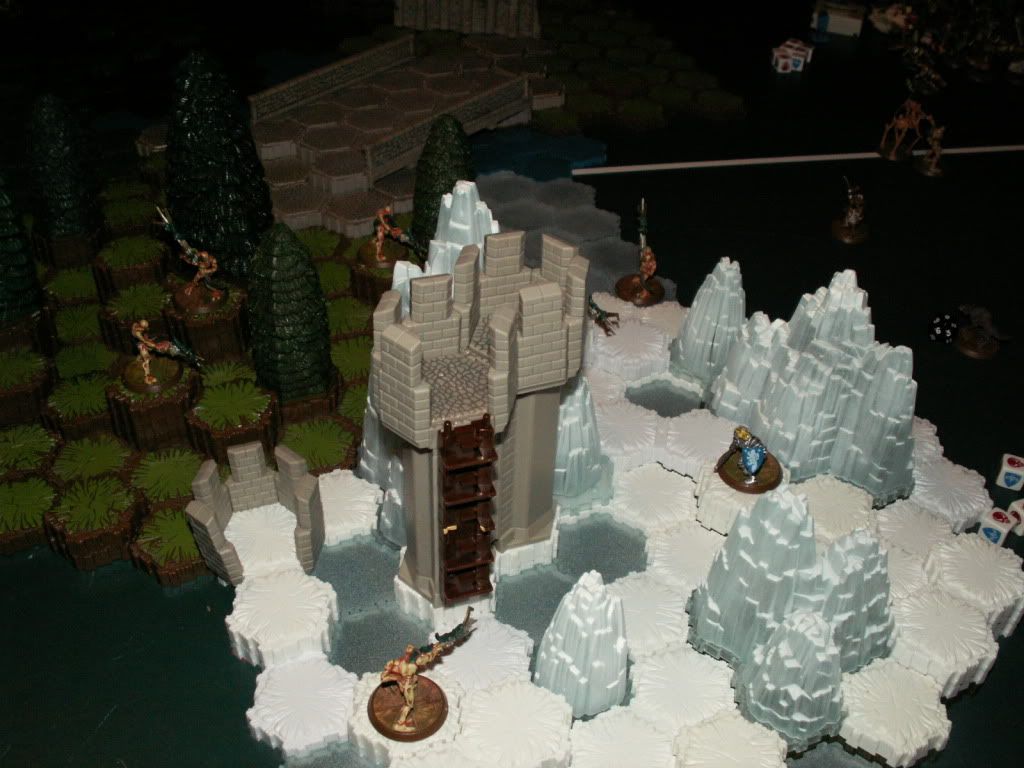 Sir Denrick manages to take 4 more Stingers with him before being shot down himself. 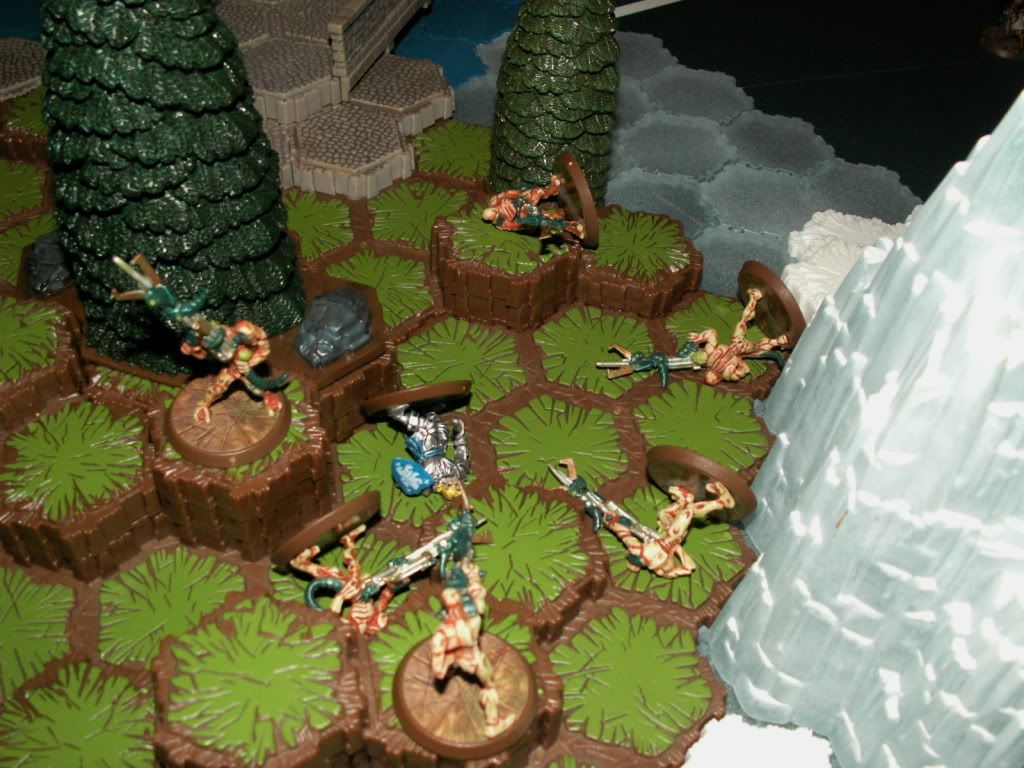 Tanner wins! 15gudasc got second, and Travis got last. Analysis: I definetely underestimated the Marro Hive. I always do when I play against it. I should've used the Airbourne Elite for more than just to drop some greandes and die. I also should've had Finn try to get as many hits as he could on the Hive, instead of attacking Kameon. Attacking the Samurai instead of the Hive made no sense whatsoever. lol! One last thing, how do I make spoilers? I see a lot of people put their battle reports inside spoilers to save CPU usage (or at leastI think that's why they do it) but I can't seem to find the button that does it. Last edited by 15gudasc; September 2nd, 2012 at 05:19 PM.
|
|
|
|||||||
|
|
 Similar Threads
|
||||
| Thread | Thread Starter | Forum | Replies | Last Post |
| 16 Army Tournament- Guess the Victors! | Black_Charos | Battle Reports | 113 | July 9th, 2014 02:18 AM |
| Pictured Scenario Battles ~ Update 7/28/13 | TheSparkleInYourWater | Battle Reports | 66 | October 30th, 2013 10:56 PM |
| Mossman's Pictured Battle Reports- Epic 4-Army Battle! 3/27 | Mossman | Battle Reports | 22 | January 22nd, 2013 05:28 PM |
| B96's Pictured Battle Reports | boromir96 | Battle Reports | 18 | March 31st, 2012 03:50 PM |
| Tuba's first pictured battle report | tubafication | Battle Reports | 11 | June 5th, 2009 10:34 PM |


 Linear Mode
